If you’re looking for the easiest way to hem curtains, this is it. This winter I decided it was time for a refresh on our living room curtains. First of all, changing from dark to light curtains made a HUGE difference. Light curtains are a great way to make a room feel bigger and brighter. You can really tell how great it looks in the before and after photos at the end of this blog. I’m smitten with the IKEA RITVA Curtains we now have. The price is great, no sew curtains are quick and easy, and they look really nice.
Step 1: If you don’t already have a curtain rod mounted, you will need to install a curtain rod.

Step 2: Hang the curtains (unhemmed) on the rod and make a mark on the fabric for how long you would like the curtains to be.

Step 3: Plug in your iron and cover your floor with towels. This is really important because your iron will melt polyester carpet, laminate or vinyl floors, etc. Please protect your long term flooring so you don’t have any regrets.
Step 4: Lay the curtains on the towel covered floor. Fold the bottom up and pin the edge you are hemming in place.

Step 5: Measure the hem in several locations across the bottom of the curtain to ensure it’s folded straight.
Step 6: Iron the edge to crease the hemline.
(Before you iron the edge, it will be good to test the temp on some of the fabric you are going to cut off later on. That way you don’t burn your beautiful curtains. Again, please protect your carpets. An iron will melt a polyester carpet like the one below. 🙂 )

Step 7: Unpin the fabric. Then, add pieces of the IKEA SY Iron on Hemming Tape between the layers of fabric.

Step 8: Iron the hem until the tape has melted, and the hem is in place.

Step 9: Cut the extra fabric off.

Step 10: Hang your beautiful new curtains!

BONUS: If you want your curtains to look really nice, try using a steamer on them to get the wrinkles out.
SUPPLIES
RITVA Curtains
SY Iron on hemming tape
Supplies below are recommended if you need a curtain rod.
HUGAD Curtain Rod
BETYDLIG Wall mounts
RAFFIG End caps
SYRLIG Curtain rings
KEY LEARNINGS
- Rugs melt 🙂 Protect your floors whether they are carpet, rugs, laminate, hardwood, vinyl, etc. A little proactive setup to protect them is definitely worth avoiding damaging them.
- The first set of curtains I hemmed, I spent days hand sewing and I will never ever do that again. This method was so easy and the curtains look amazing!
- I had to touch up a place where the tape didn’t quite melt all the way. Rather than taking everything down to iron the spot, I took a tip from the DIY Playbook curtain blog and used my hair straightener. Yes, it worked great! I recommend this approach.
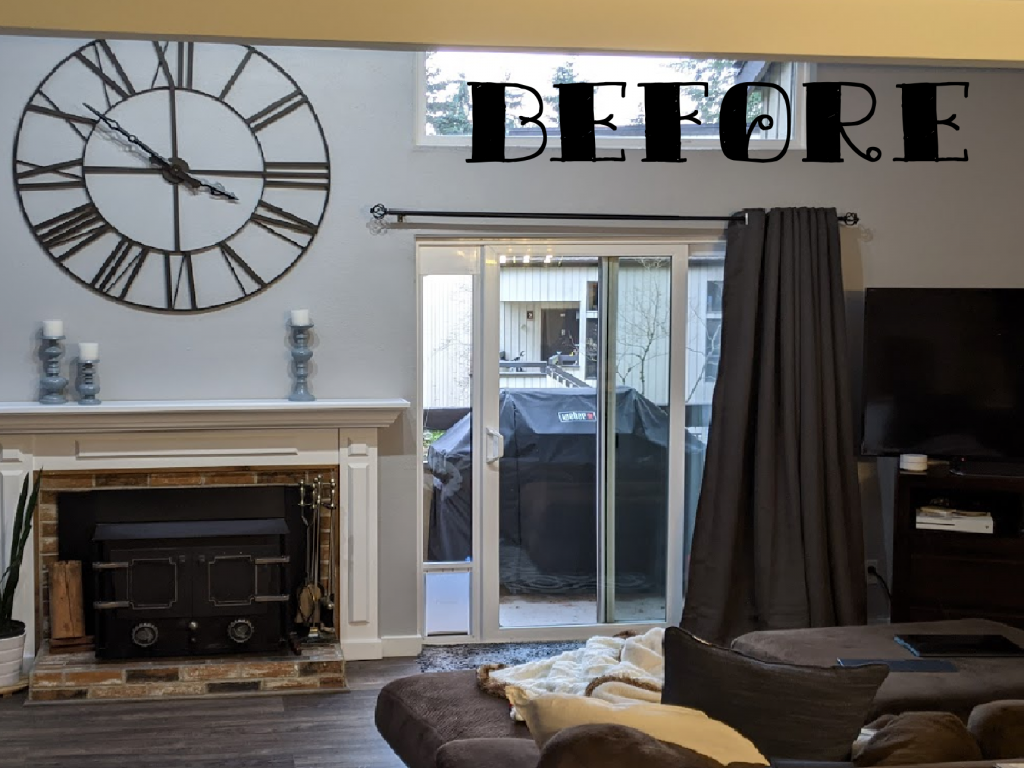
Before
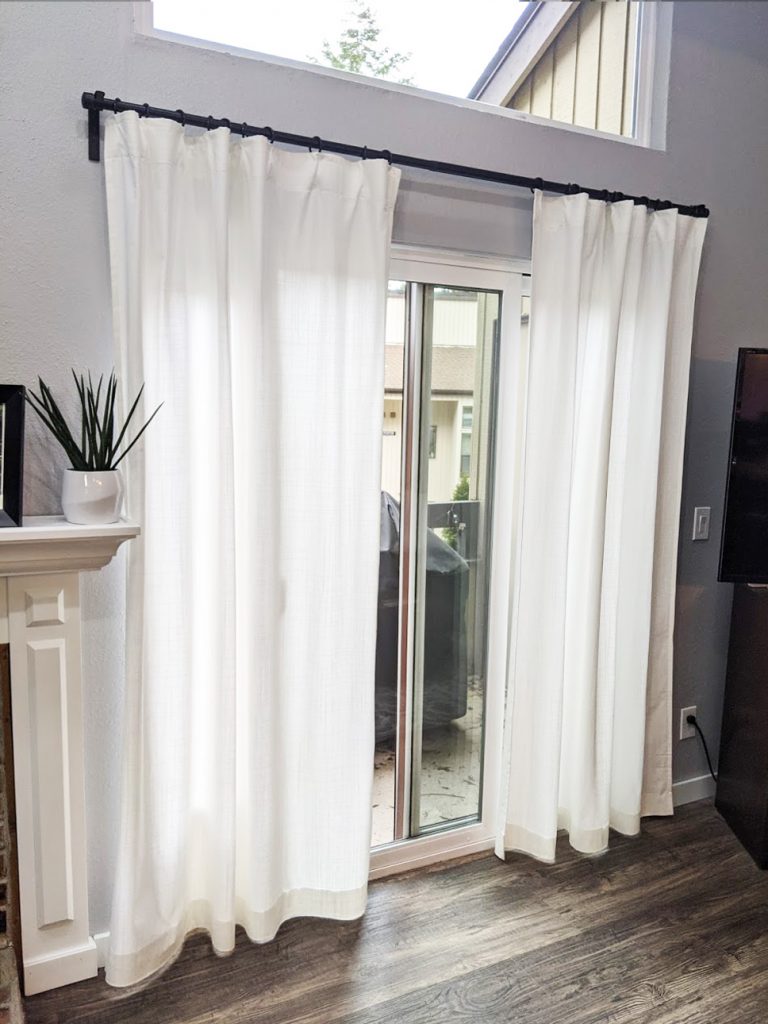
After

Inspired by: This curtain blog on the DIY Playbook website.