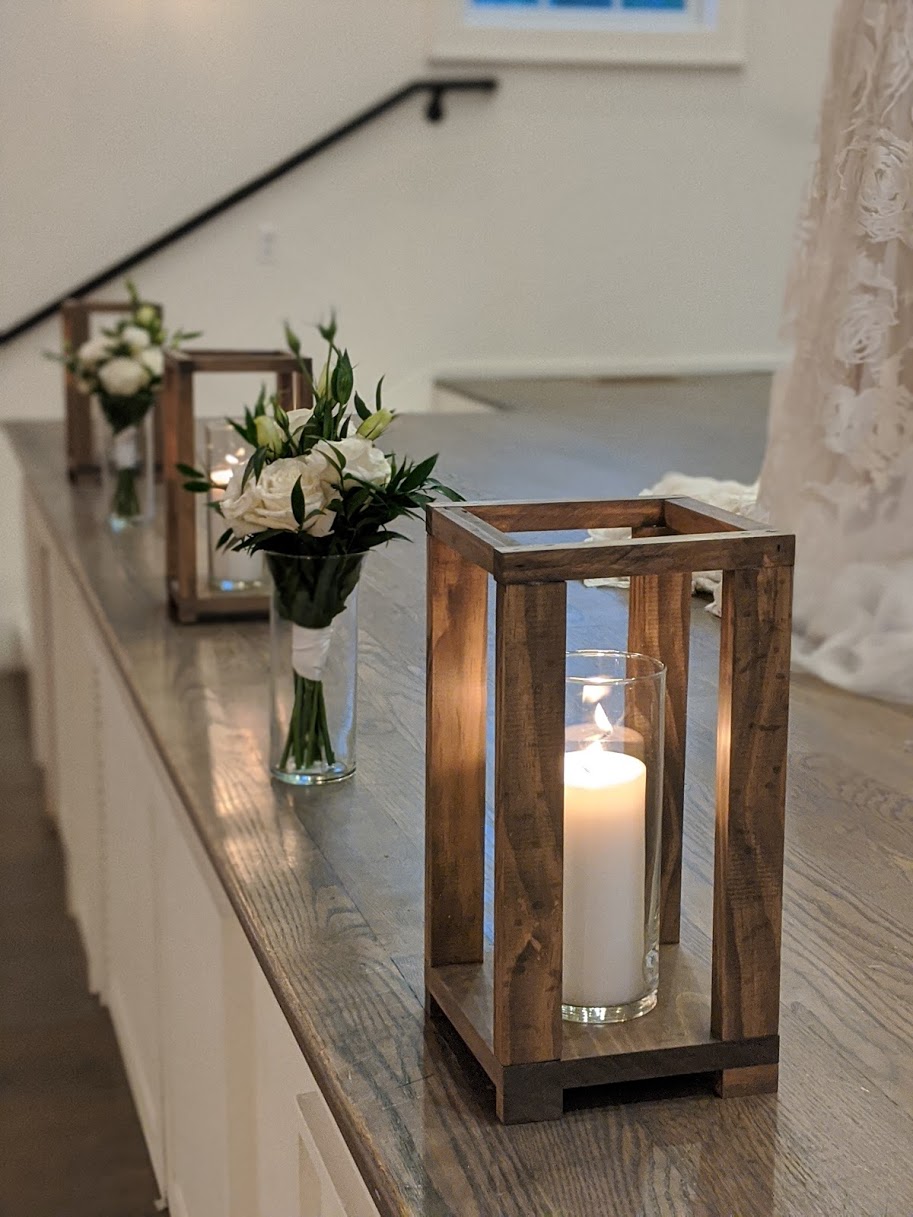
I built these DIY lanterns for my wedding. I absolutely love them and will be using them to decorate my patio next. They are a great beginner project and can easily be modified for the look you like.
Step 1: Determine how big you’d like the base to be. I used a 1″x6″ and cut it into a 6″x6″ square base.
Step 2: Next, take a 1″x2″ board and cut it into 12″ long pieces for the pillars. I glued these pieces into place. Then, use an 18 gauge Bradley nail gun to nail them into place.
Step 3: Cut the 1″x2″ lengthwise to make 1″x1″ pieces. Then cut 2 of the 1″x1″s to be 6″ long and 2 to be 4″ long. These go around the top of the lantern. Glue and nail them into place.
Step 4 (optional): Split your 1″x2″ board again into a 1″x1″. Then, cut it into 2″ long pieces to create feet for the lantern. Glue and nail these into place.
Step 5: Stain the wood with Varathane briarsmoke stain. Paint the stain on with a poly foam brush and then wiped it off within minutes with an old rag. Be sure to wear gloves so you don’t get the stain on your hands– that could make a big mess!
Step 6: Add your vase and candle.
SUPPLIES
1x6x12″ piece pine wood
8 – 1x2x12″ pieces of pine wood
glue
Varathane briarsmoke stain
poly foam brush
gloves
vase
candle
TOOLS
miter saw
18 gauge brad nailer
KEY LEARNINGS
- This is a very forgiving project and great for beginner wood workers (It was my first miter saw project!)
- You can customize the lanterns however you would like with different stains, different size bases, or different heights
- These are versatile and can be used to decorate for many occasions or in different rooms
Inspired by: Jamie Costiglio, but customized for the supplies I had on hand. Photo credit: Brittni Adams
A beautiful marriage leading to the start of a beautiful blog. Thank you!