
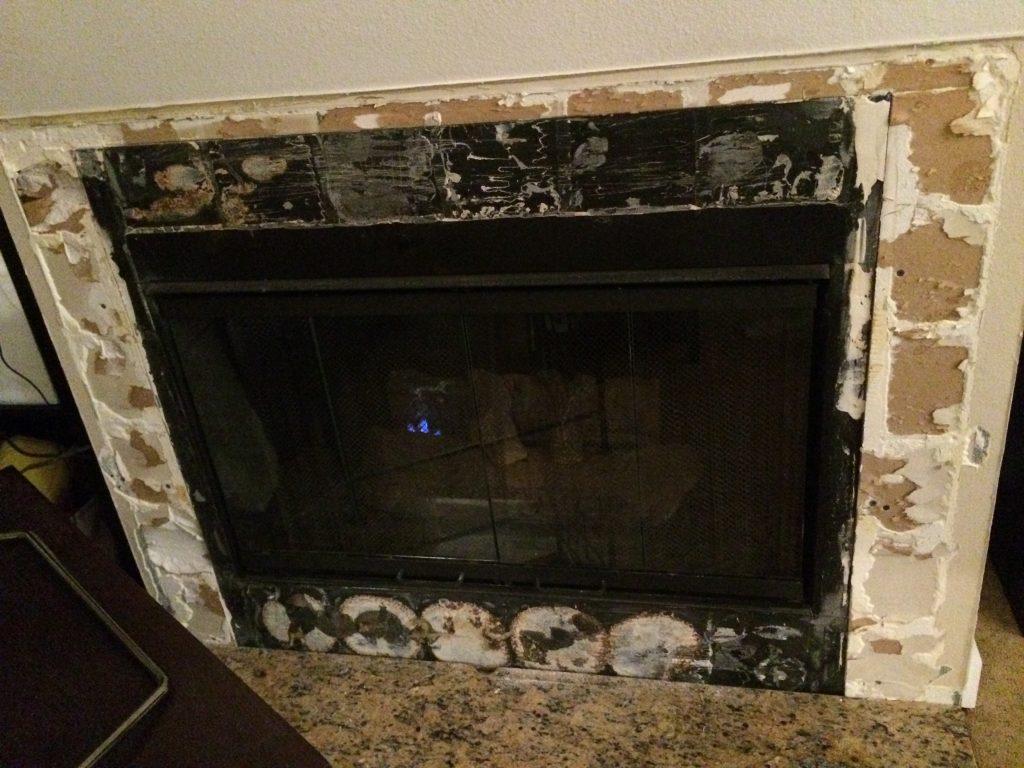
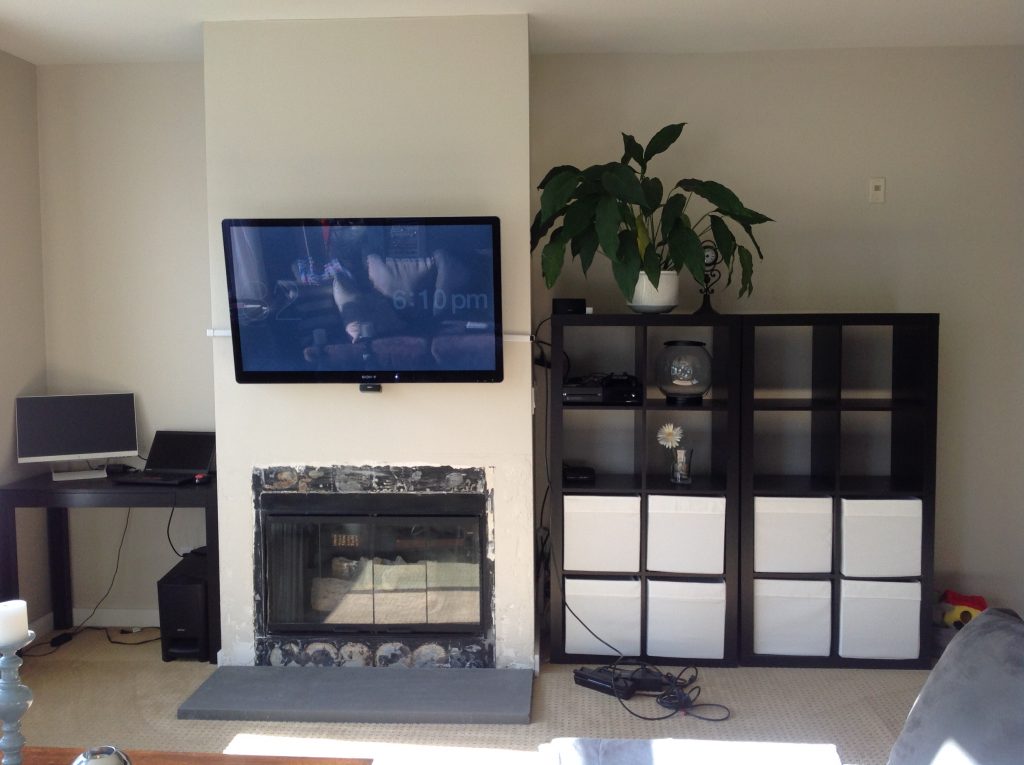
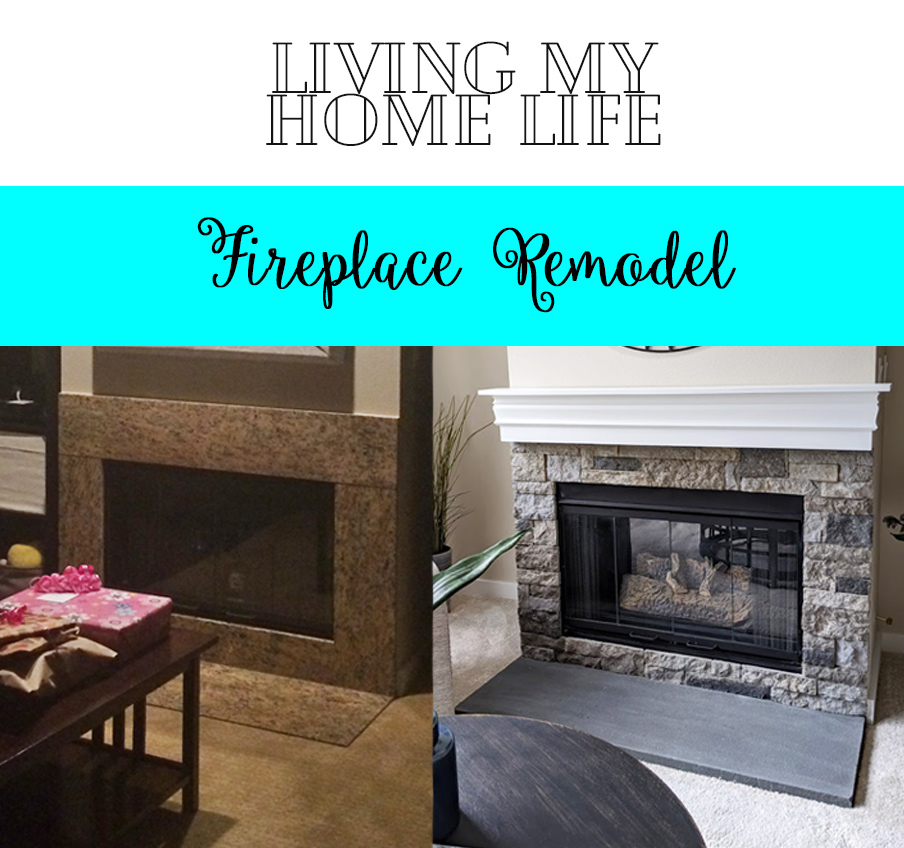
This easy remodel is something a beginner DIY’er can take on. I had a very pink granite around my fireplace when I purchased my home which I didn’t like at all. After reading many bloggers posts, I decided to go with AirStone for the materials. AirStone is an easy product to use. I’m in love with the new look of the fireplace and I’m excited to share the easy things I did for this update.
Step 1: Remove the materials surrounding your fireplace.
Step 2: Patch the surface as needed so there aren’t any major uneven spots. I just used wall patch. Then, lay the hearthstone. For this fireplace, I used a slab of bluestone which was purchased from a local landscaping company.
Step 3: Paint the wall a dark color. This is important because if you leave the wall a light color, the light spots could show through the cracks between stones.
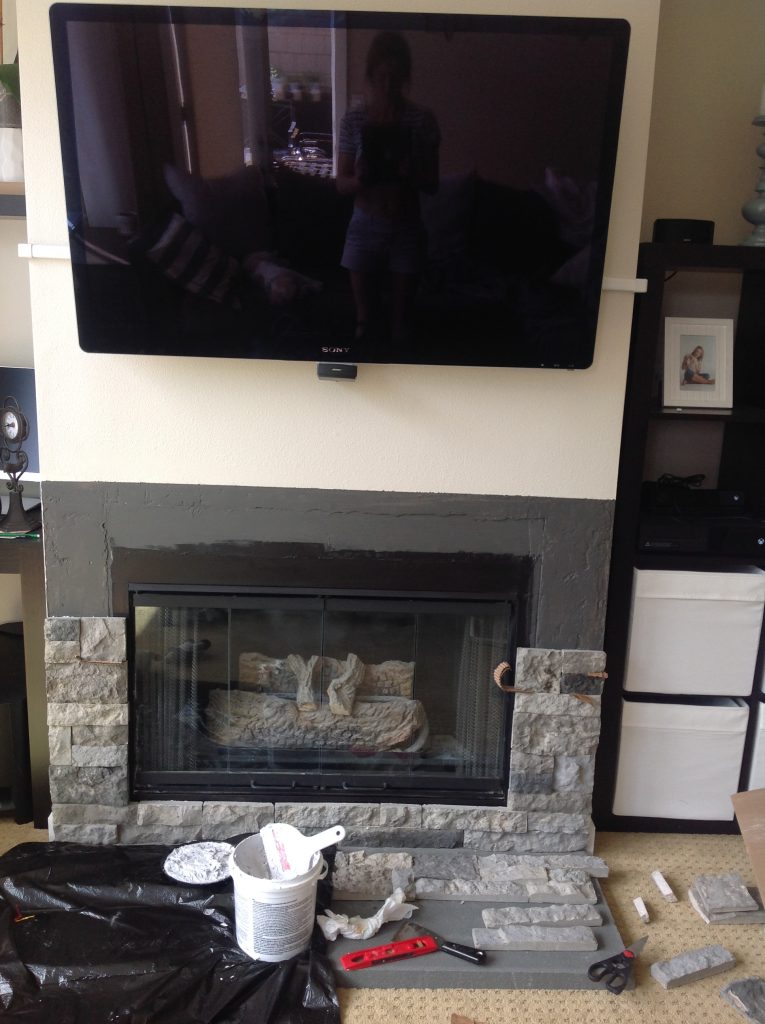
Step 4: Start installing the AirStone. I used a hand saw to cut the pieces of stone, and for the adhesive, I used the recommended glue for AirStone. Be sure to use a level for each piece to keep the lines straight, and I used pieces of the cardboard box to help with leveling as needed.
Step 5: There was probably a better way to lay the top row of stone and keep it supported. I just checked on it often and straightened the pieces as needed since (at the time I did this) I didn’t have tools to build a brace to support the row above the fireplace. Once the first row above the fireplace was dry, I started on the rows above.
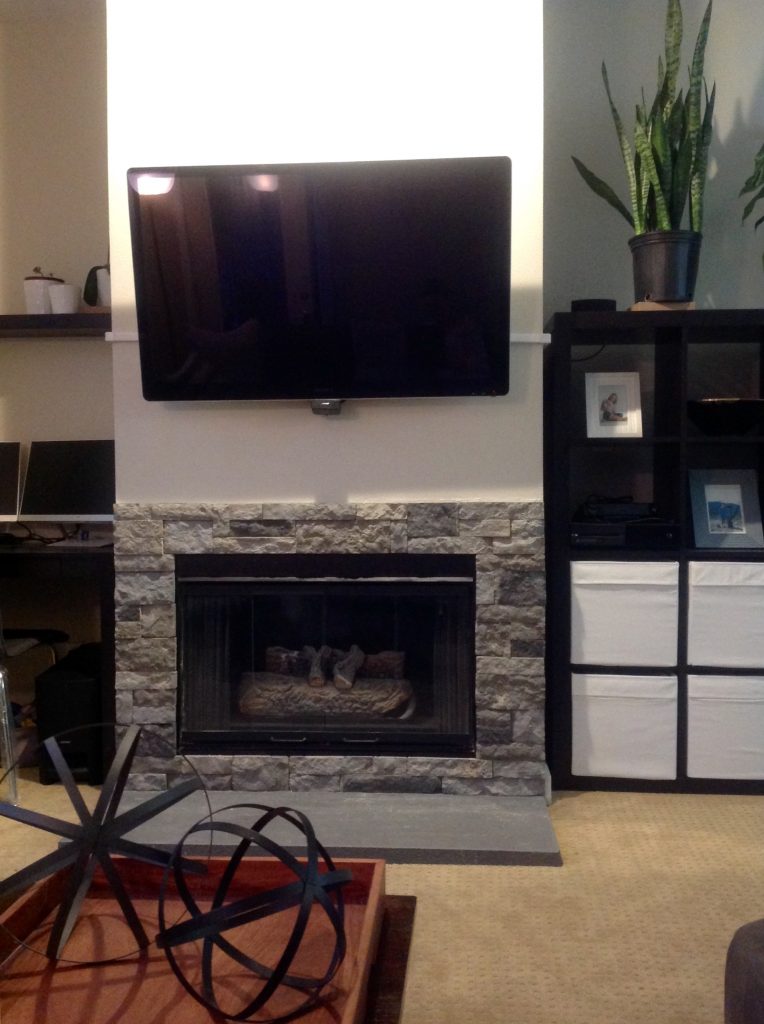
Step 6: You’re done! At this point, I lived with the fireplace as seen above for a year. Once I got ready to sell my condo, I replaced the carpet, added a mantel (I’ll blog about this later), and removed the TV mount. With those extra steps, you can see the finished look below.
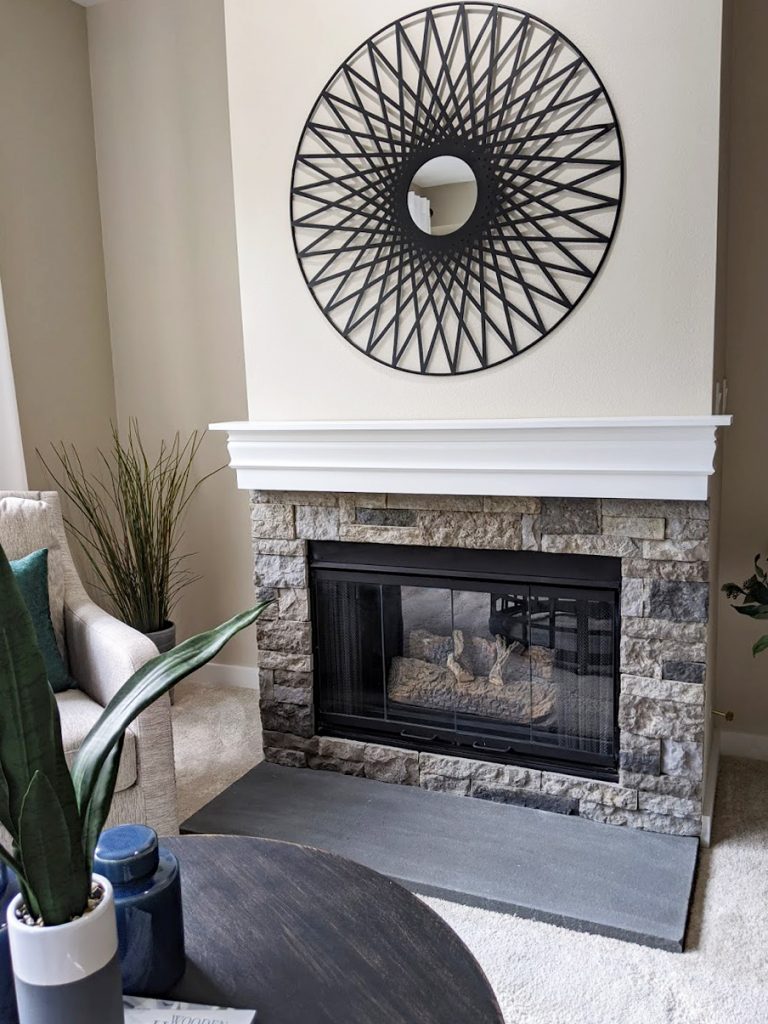
Step 7: Pour yourself a glass of wine and enjoy your beautiful new fireplace!
SUPPLIES
Wall patch
Paint
Hearthstone
(I purchased a bluestone slab from a local landscaping company)
AirStone
AirStone adhesive
KEY LEARNINGS
- Cut the AirStone outside so it doesn’t get dust in your house. Be sure to protect the surface you are cutting on so you don’t damage the surface you’re cutting on.
- Adding a mantel makes a BIG difference. If I had realized this, I wouldn’t have waited so long to add mine.
- Not included in this blog, but the glass doors previously had brass frames. I updated those with Rustoleum high heat paint (heat safe). It really updated the look.
Inspired by: Pinterest
I am so grateful for your article post. Much thanks again. Keep writing. Kyle Brandon Wetzel
Hi my friend! I wish to say that this post is awesome, great written and come with almost all important infos. Dee Dwight Rosati