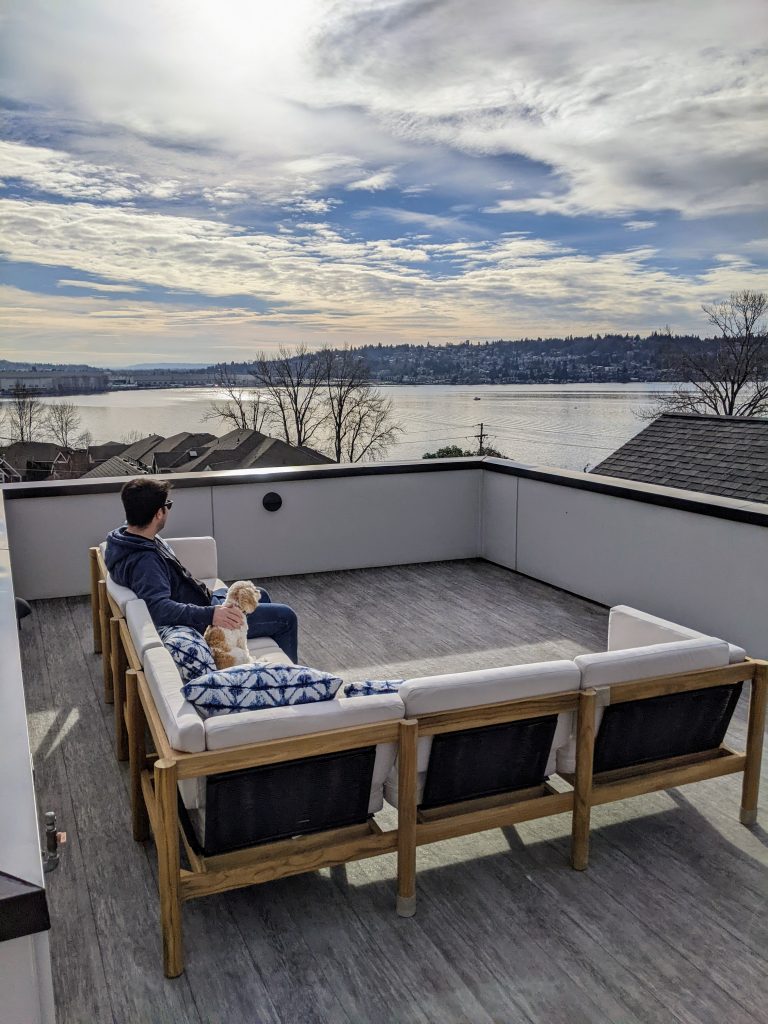
Teak furniture requires some up-keep to maintain it’s beautiful rich color. The sectional in the photo above is from Neighbor furniture. We selected this because we love the look, but also because it’s modular furniture so we can add, remove, and rearrange the sections to accommodate different seating arrangements. All these pieces came flat packed and took about three hours to assemble. The sofa is really great, and we later ordered a couple ottomans to match. If we could make a change, we wish the cushions would attach to frame so they don’t slip. Mmm, future challenge for me?!
There are 2 things I’m doing to maintain our teak sectional:
Furniture covers – Putting a cover on when the furniture isn’t in use. Sun and rain can be really harsh on your furniture. While teak is extremely durable, I’d like to preserve the original rich honey color rather than letting it weather and turn grey. A cover is essential to preserve the color. I will say that the cover we ordered from Neighbor is excellent. It fits perfectly and has ties that go around the legs which is just awesome with the heavy winds we get where we live.
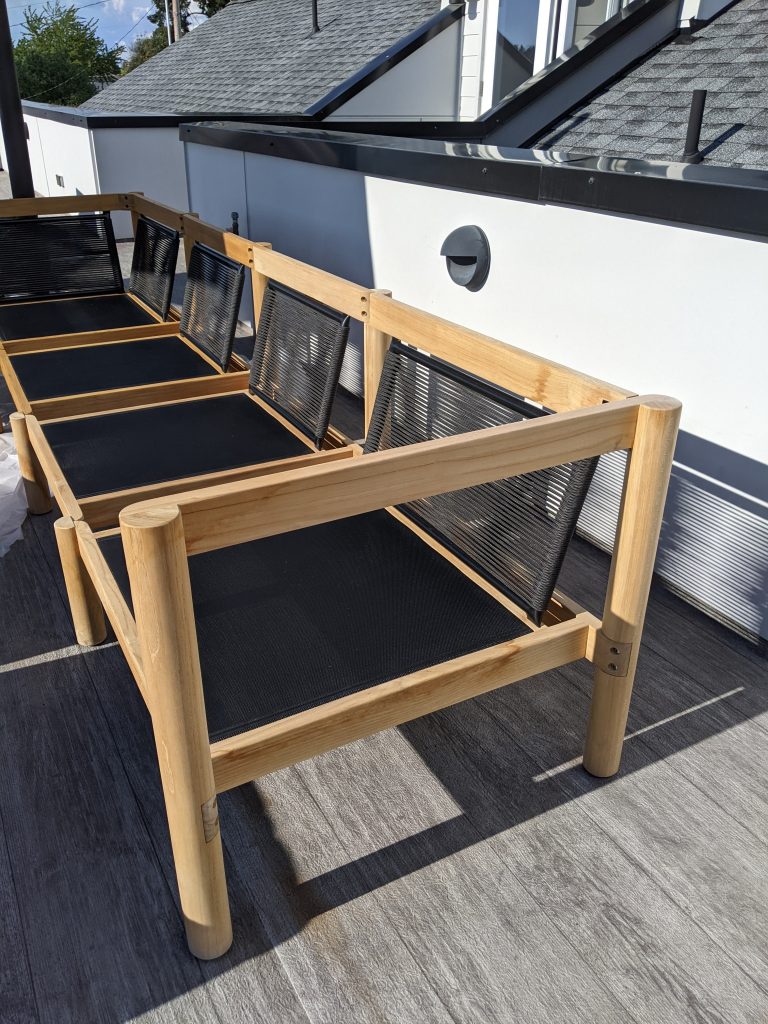
Use teak cleaning and protection products – To preserve the honey color, regular cleaning and a coat of protection is required. Don’t worry, this is easy to do! I found it time consuming, but probably spent too much time perfecting details rather than just getting the project done. See below for before and after photos that make it clear why this is needed.
Before cleaning and protecting
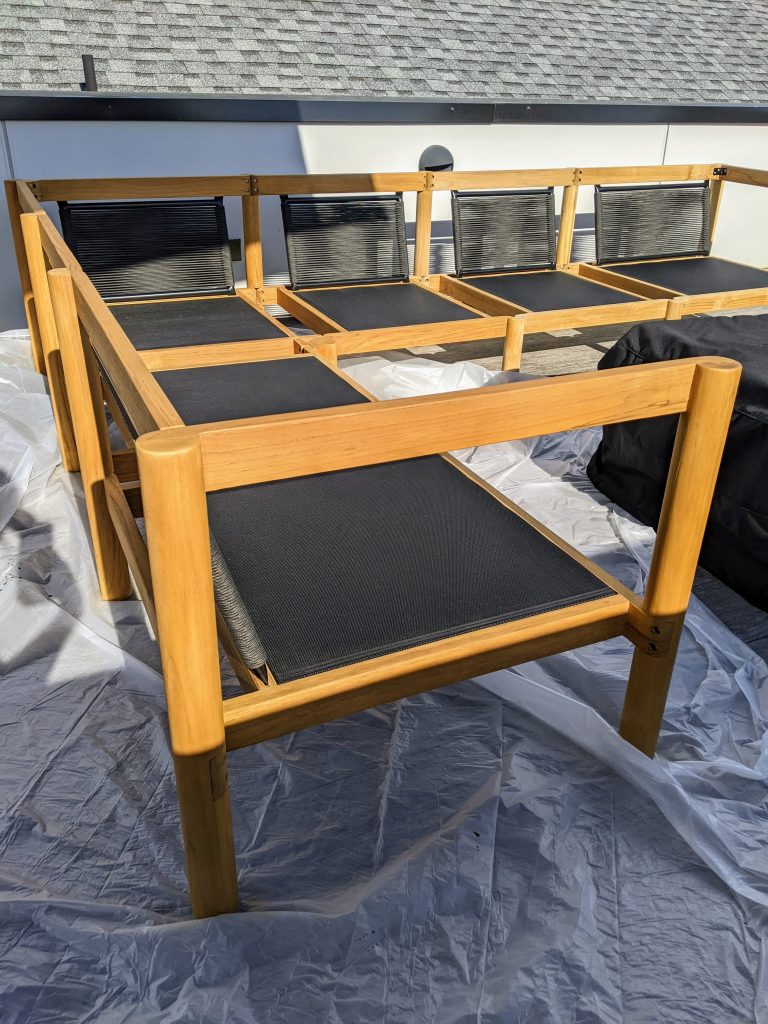
Stunning, right?!
After cleaning and protecting
To keep up the look, you need to do this one or two times per year…
Step 1: Purchase Teak Cleaner and Teak Protector. There are a few brands out there to choose from. I chose Golden Care based on a combo of blogs I read, reviews, and trusting Crate and Barrel’s recommendations.
Step 2: Dust off your furniture with a microfiber cloth.
Step 3: Use a new microfiber cloth to wipe down the teak with the Cleaner and let dry.
Step 4: Get ready for the Protector. You’ll want a drop cloth in your space since this can stain surfaces. Wear old clothes, and rubber gloves to protect yourself.
Step 5: SHAKE IT UP! Shake that Protector a lot.
Step 6: Pour a small amount of Protector onto your fresh microfiber cloth. Then, wipe that on your teak just like you are rubbing stain on wood. Cover the entire piece. You should be able to easily see where you need more Protector based on the color of the teak.
Historically I’ve been a bit of a brown thumb and always stuck to geraniums as the only flower I would grow. This year, I’m still a beginner, but I’m determined to grow some cut flowers that can provide beautiful bouquets this summer. I’m even trying to germinate the seeds myself. If you’re wondering how to start a cut flower garden from seeds. Follow along to see how things go.
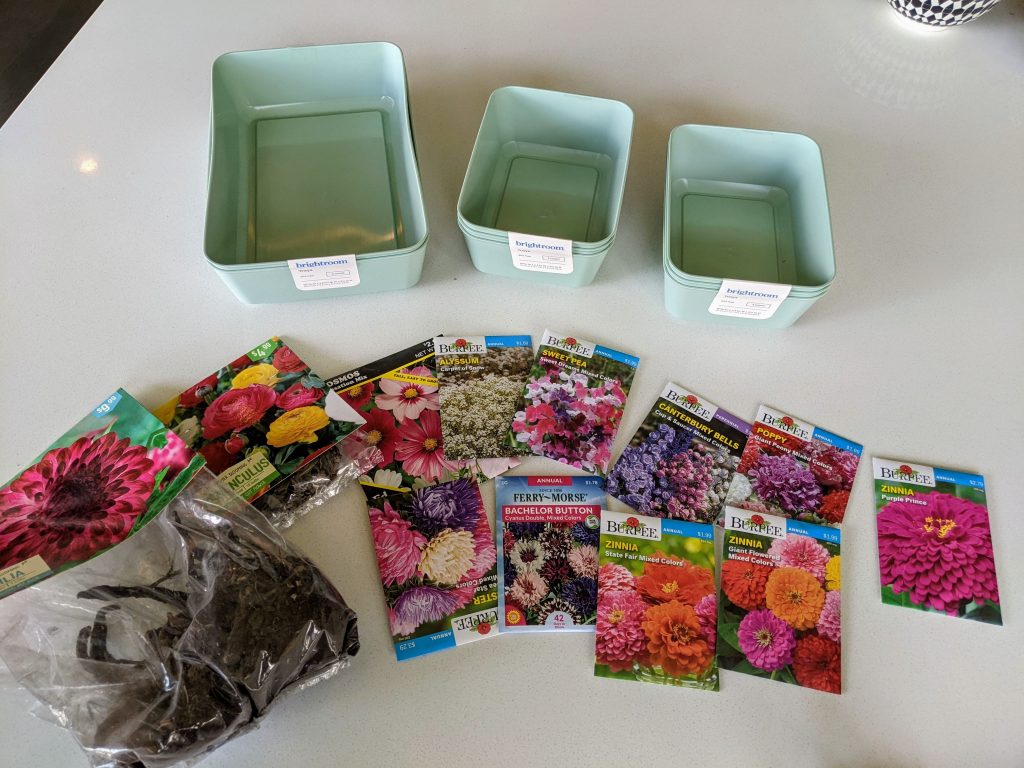
First things first, select your seeds and containers. The containers I used are from Target. You can use any containers, you can even repurpose containers from food delivery orders. You’ll also need to select your seeds. See below for what I chose.
Alyssum (part shade, regular watering) – This is doing well. I would also say this is easy to grow.
Aster (full sun, ? watering) – My asters haven’t sprouted, so I will have to get back to you on what I think went wrong if they don’t sprout in another week or so.
Bachelor Buttons (full sun, regular watering) – Thriving! These are sprouted and doing great!
Canterbury Bells – Hmmm. I’ll have to get back to you on these. Mine have not sprouted, so I’m not sure if I’m doing something wrong or if the seed packet was expired.
Cosmos (full sun, regular watering) – My cosmos are thriving too. It took them longer to take off, but I have a ton of sprouts just from 1 seed packet.
Sweet Peas (full sun, regular watering) – My sweet peas finally sprouted about 2 weeks after planting the seeds. I didn’t think they were going to pop up, but now I have many sprouts.
Poppies (full sun, barely water) – I’ve found poppies to be tricky to germinate. I get teeny tiny sprouts and if I water at all, they fall over and only some make it. I’ve read online that the most common mistake with trying to germinate poppies is overwatering. That may be my issue as I’m hypersensitive to drying plants out.
Sweet Peas (full sun, regular watering) – My sweet peas finally sprouted about 2 weeks after planting the seeds. I didn’t think they were going to pop up, but now I have many sprouts.
Zinnias (full sun, regular watering) – I found these the easiest to grow. I swear they were sprouting a day after I planted them. There are many varieties to choose from, and I have 3 different varieties in my trays.
Other – Not in this post, I’m also growing ranunculus and Dahlias.
You’re going to need to carefully read the instructions on the back of the seed packets.
Depth – Each seed has a different depth that you should plant it at. Additionally, spacing is specified.
Spacing – I did not follow the spacing recommendations, so I will need to transplant my sprouts soon!
Soil – You can also choose from different types of soil at the store — types that drain well or hold moisture. I didn’t pay too much attention to this since I didn’t realize that the options existed until a few trips to the store later. With that, just choose some good nutritious soil.
Labeling – You need to label your containers so that you know what you’re growing when your plants start sprouting. I used the packets initially and you’ll see my fun handwritten garden labels later on in this post.
Once you have everything planned out, follow your seed package instructions and plant your containers!
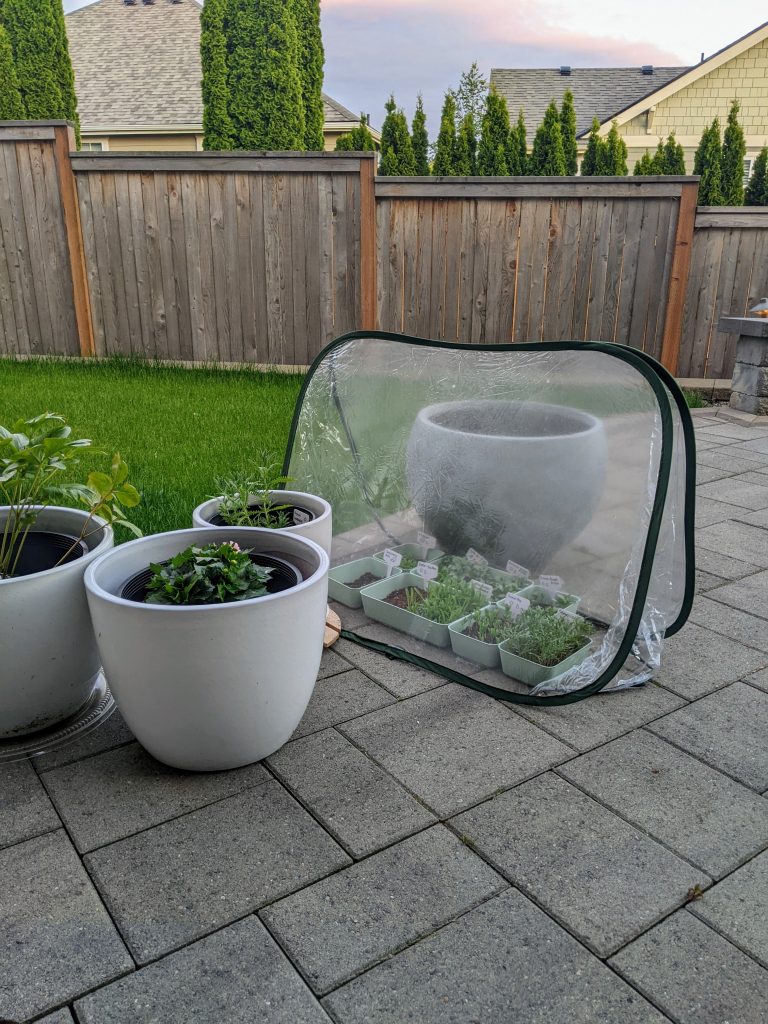
If you want to pamper your little seedlings a greenhouse can be a nice addition. I have a small collapsible greenhouse that I place on top of my plants most days and all evenings. This one will blow off if I don’t put weight on it, so I set pots on the edges which helps provide some shade for my seeds who like shade. If I were doing this in a garden, I could use stakes to keep the greenhouse in place.
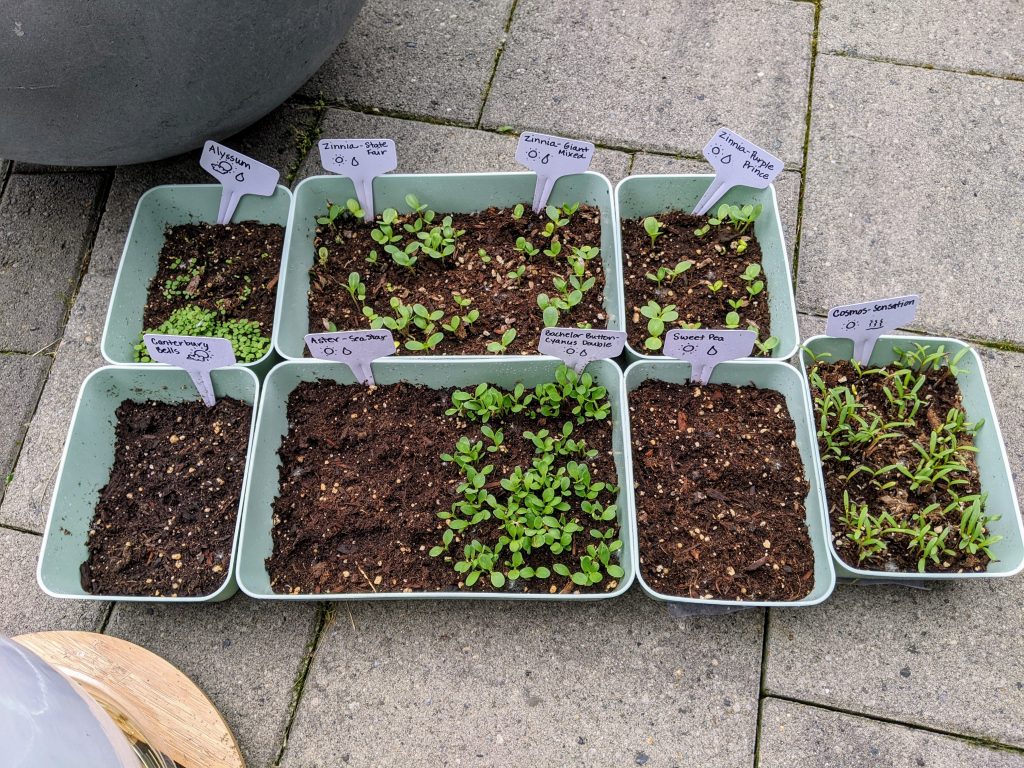
1 Week Update – We have some sprouts! (and cute new handwritten labels)
I’ve been tending to my containers every day. I check to see how the soil is going and monitor the weather to decide if I want to keep the greenhouse on or let the containers get some fresh air. I also made the cutest new labels with some quick sun and watering tips on them. It didn’t take me long at all and they look adorable. I got them from Amazon, here.
Here’s how the seeds are doing (left to right, top to bottom):
Alyssum – half container sprouted
Zinnias State Fair – many sprouts
Zinnias Giant Mixed – many sprouts
Zinnias Purple Prince – many sprouts
Poppies Giant Peony – (not in this photo, I moved them inside under my grow lights) no sprouts
Canterbury Bells – no sprouts
Aster Sea Star – no sprouts
Bachelor Buttons Cyanus Double – many sprouts
Sweet Peas – no sprouts
Cosmos Sensation – many sprouts
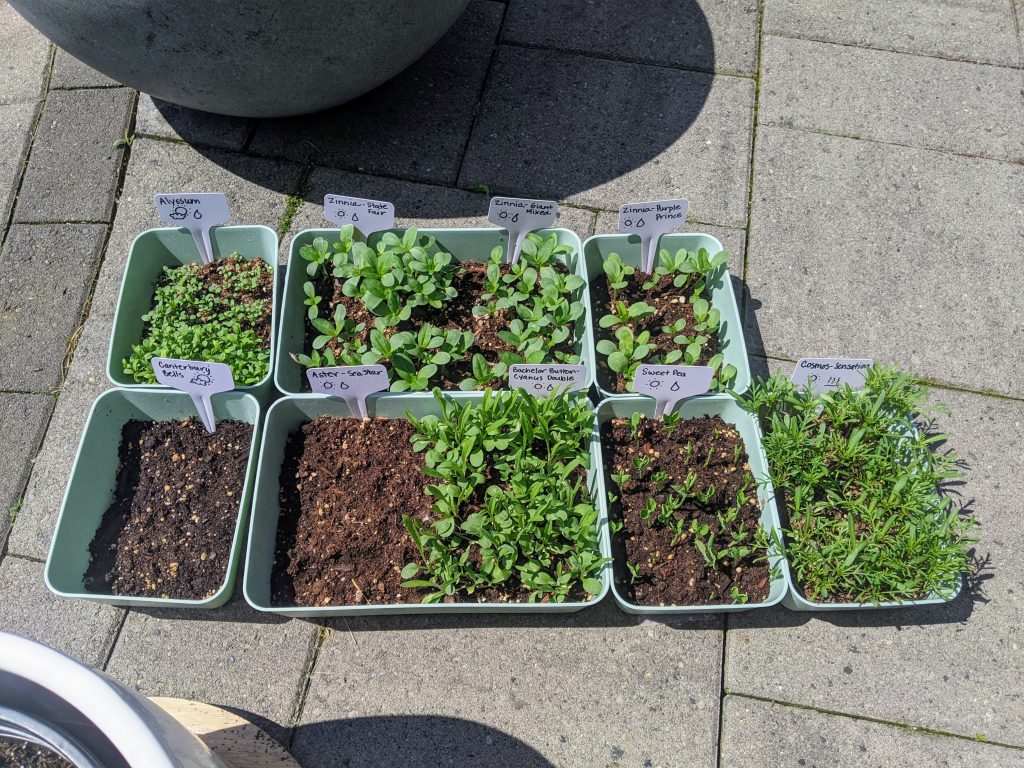
2 Week Update – Wow these are taking off! We better find some bigger containers soon!
Alyssum – Sprouted, thriving
Zinnias State Fair – Sprouted, thriving
Zinnias Giant Mixed – Sprouted, thriving
Zinnias Purple Prince – Sprouted, thriving
Poppies Giant Peony – (not in this photo, still inside) some very hard to spot sprouts. I’m not feeling optimistic that I’ll get any plants from these seeds. Poppies are turning out to be difficult to germinate. I’m going to keep trying
Canterbury Bells – No sprouts, not sure what to do
Sweet Peas – Yay! It took an extra week, but the Sweet Peas sprouted and they’re doing great!
Cosmos Sensation – Sprouted, thriving
As you can see, the sprouts are doing great. Rich and I are going to come up with a bigger container solution this weekend. I’m interested in making a large planter table on wheels so that I can put it in the sun most of the time and wheel it out of the way when we have guests over.
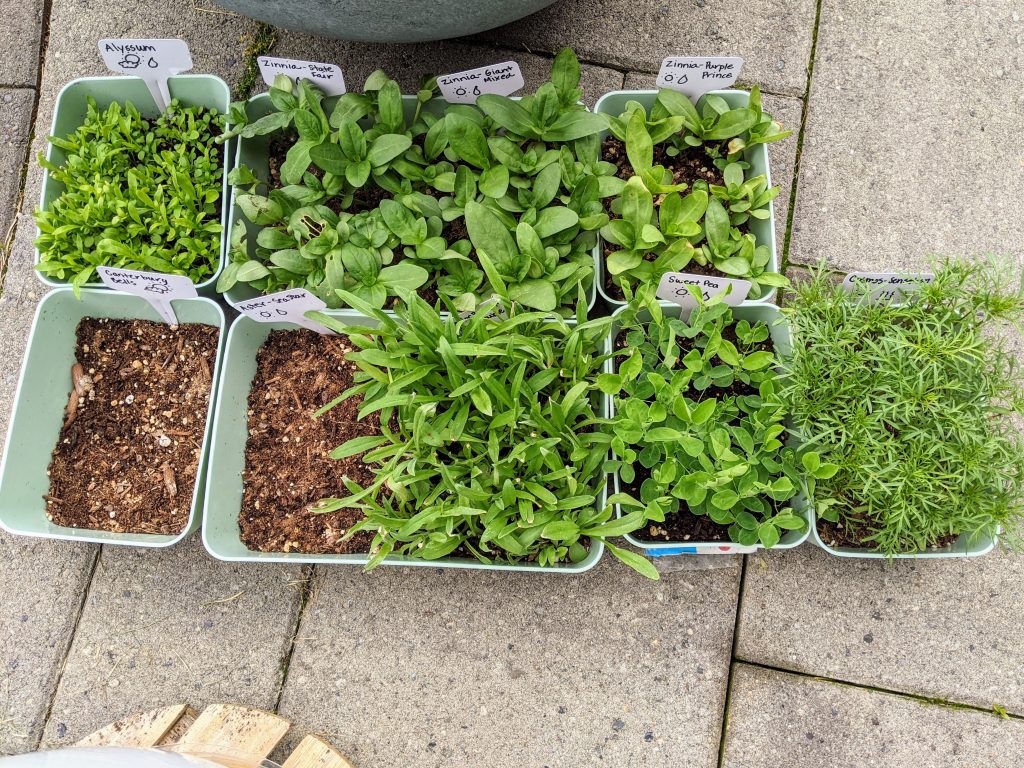
2 Week Update – Now I really need to find these plant babies new homes!
I’ve had a busy week, so let’s make this easy… The sprouts that are thriving are THRIVING! The sprouts that aren’t simply haven’t come up. If you have thoughts on why not, please let me know in the comments. We had hoped to transplant the sprouts into some bigger containers last weekend, but we prioritized time with friends and family. Next weekend, we’ll transplant these cute little plant babies, I promise! No more of these cramped conditions. 🙂
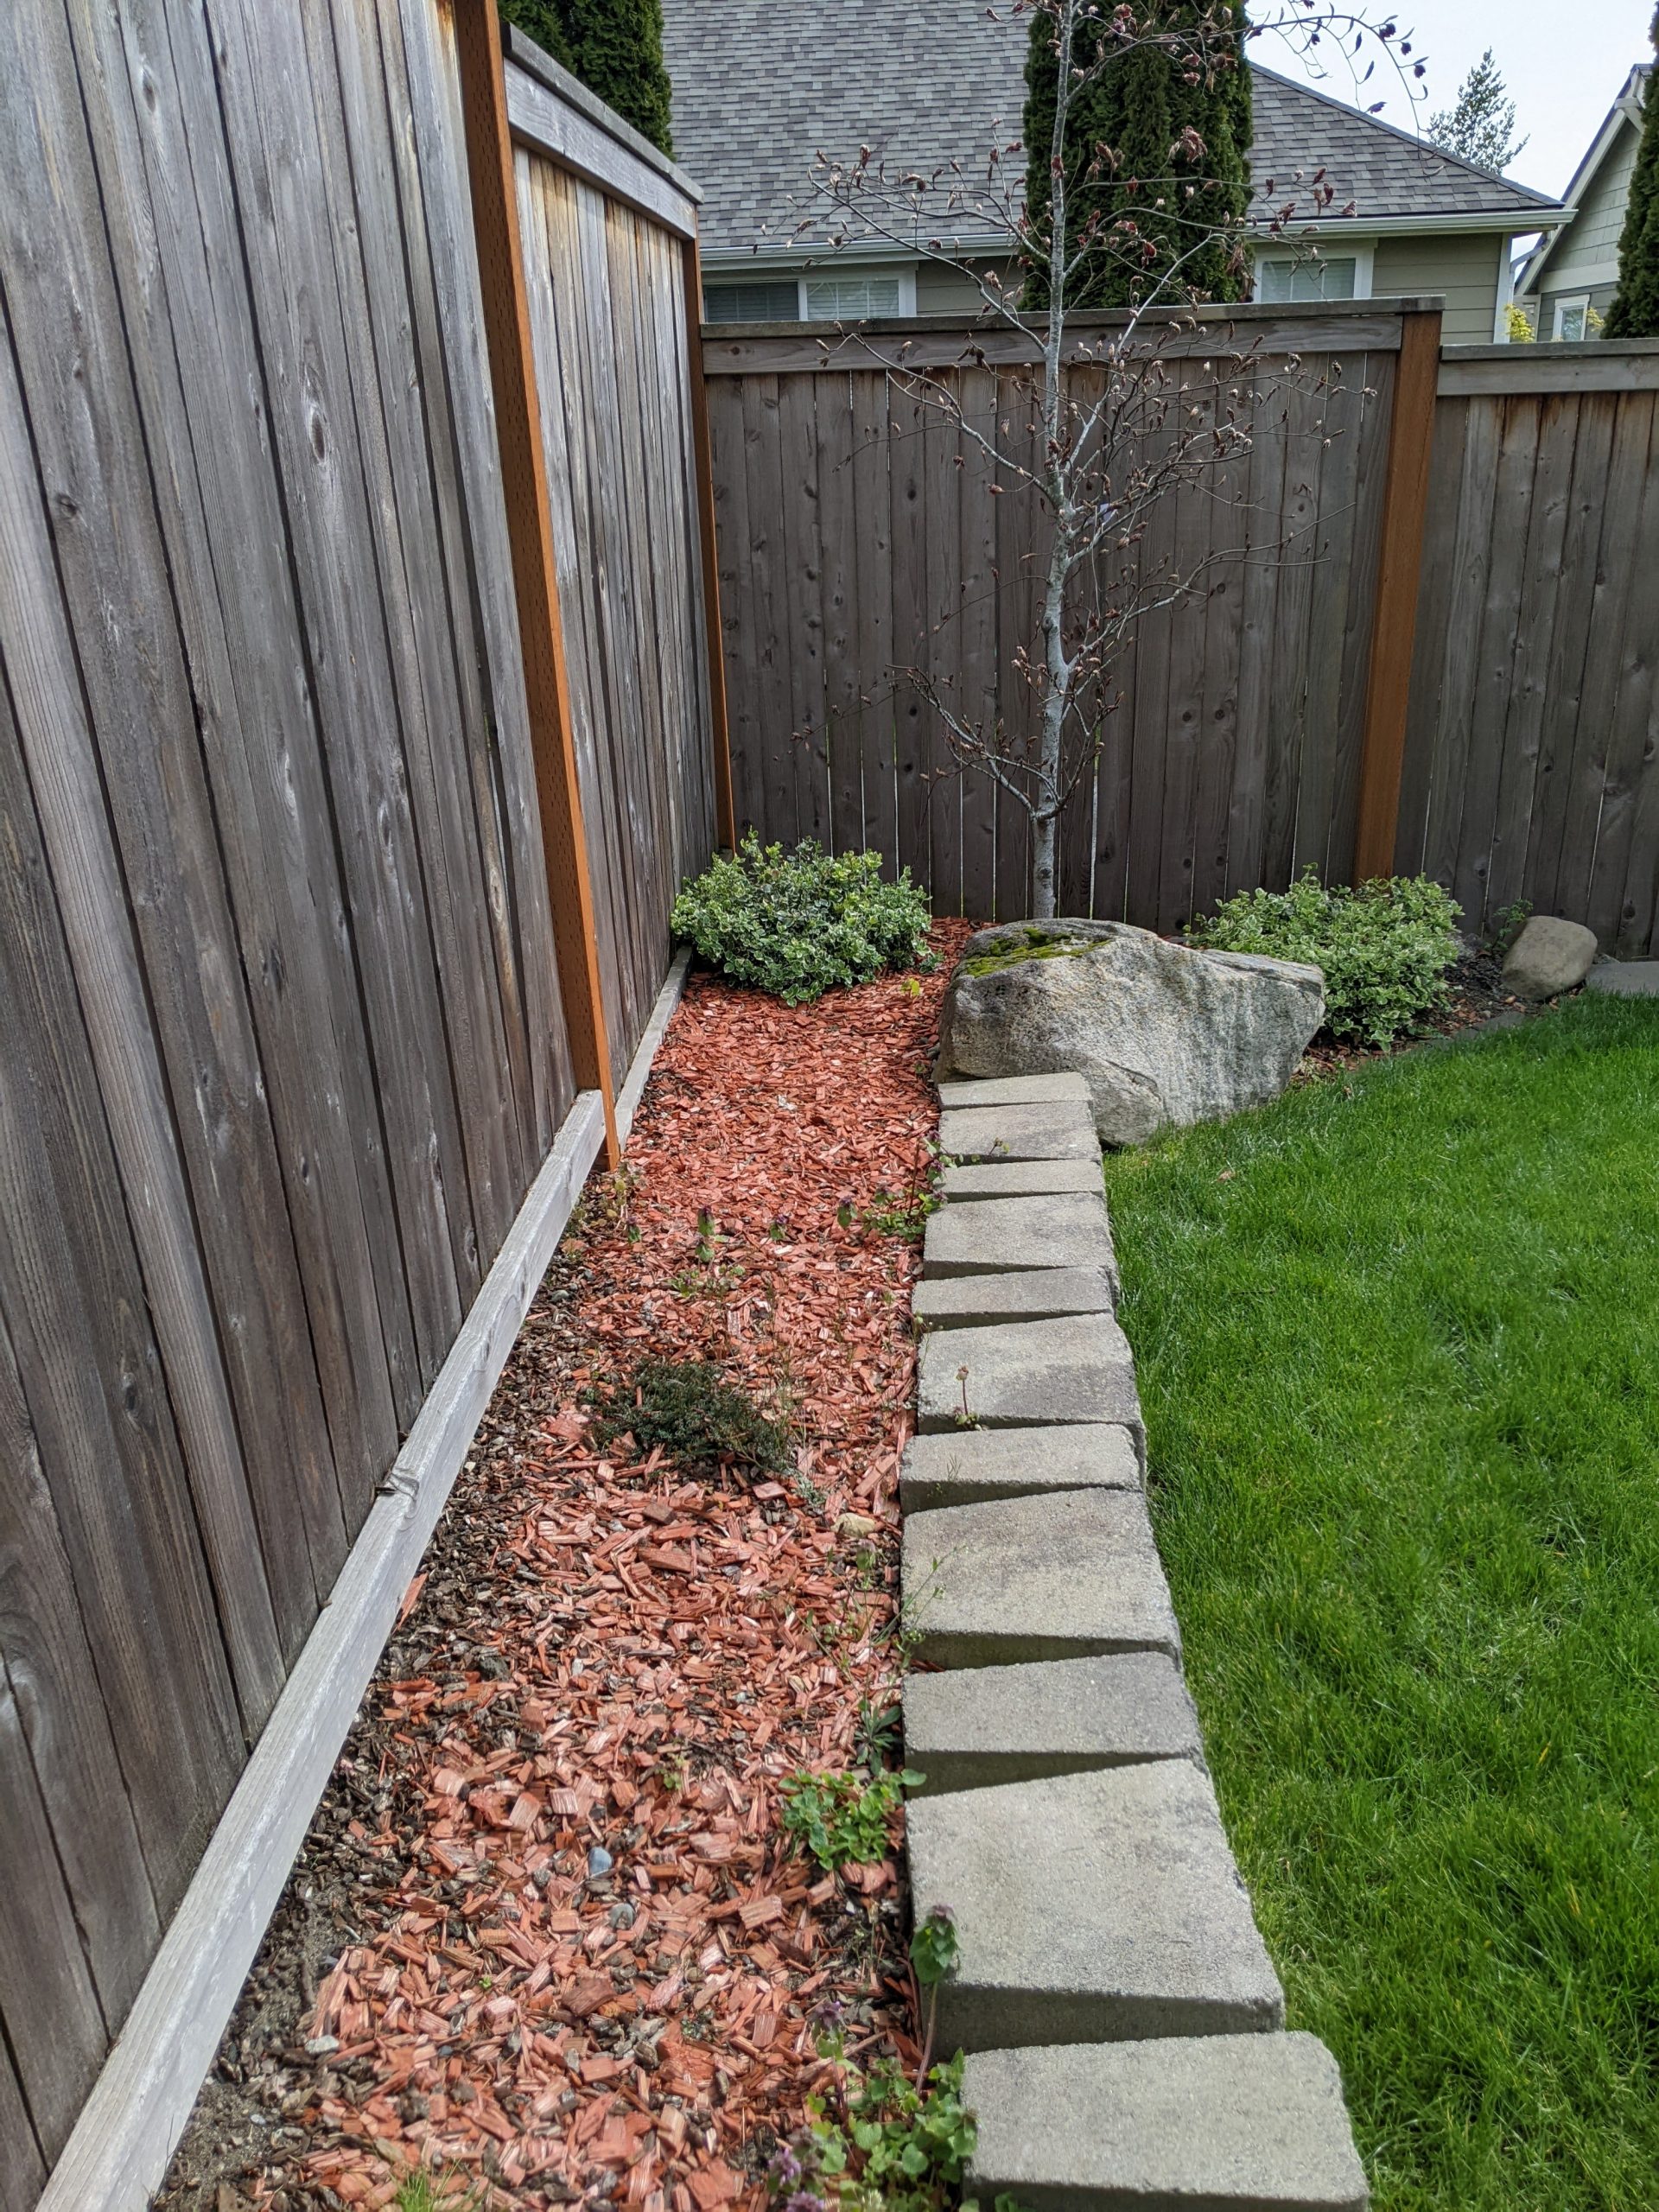
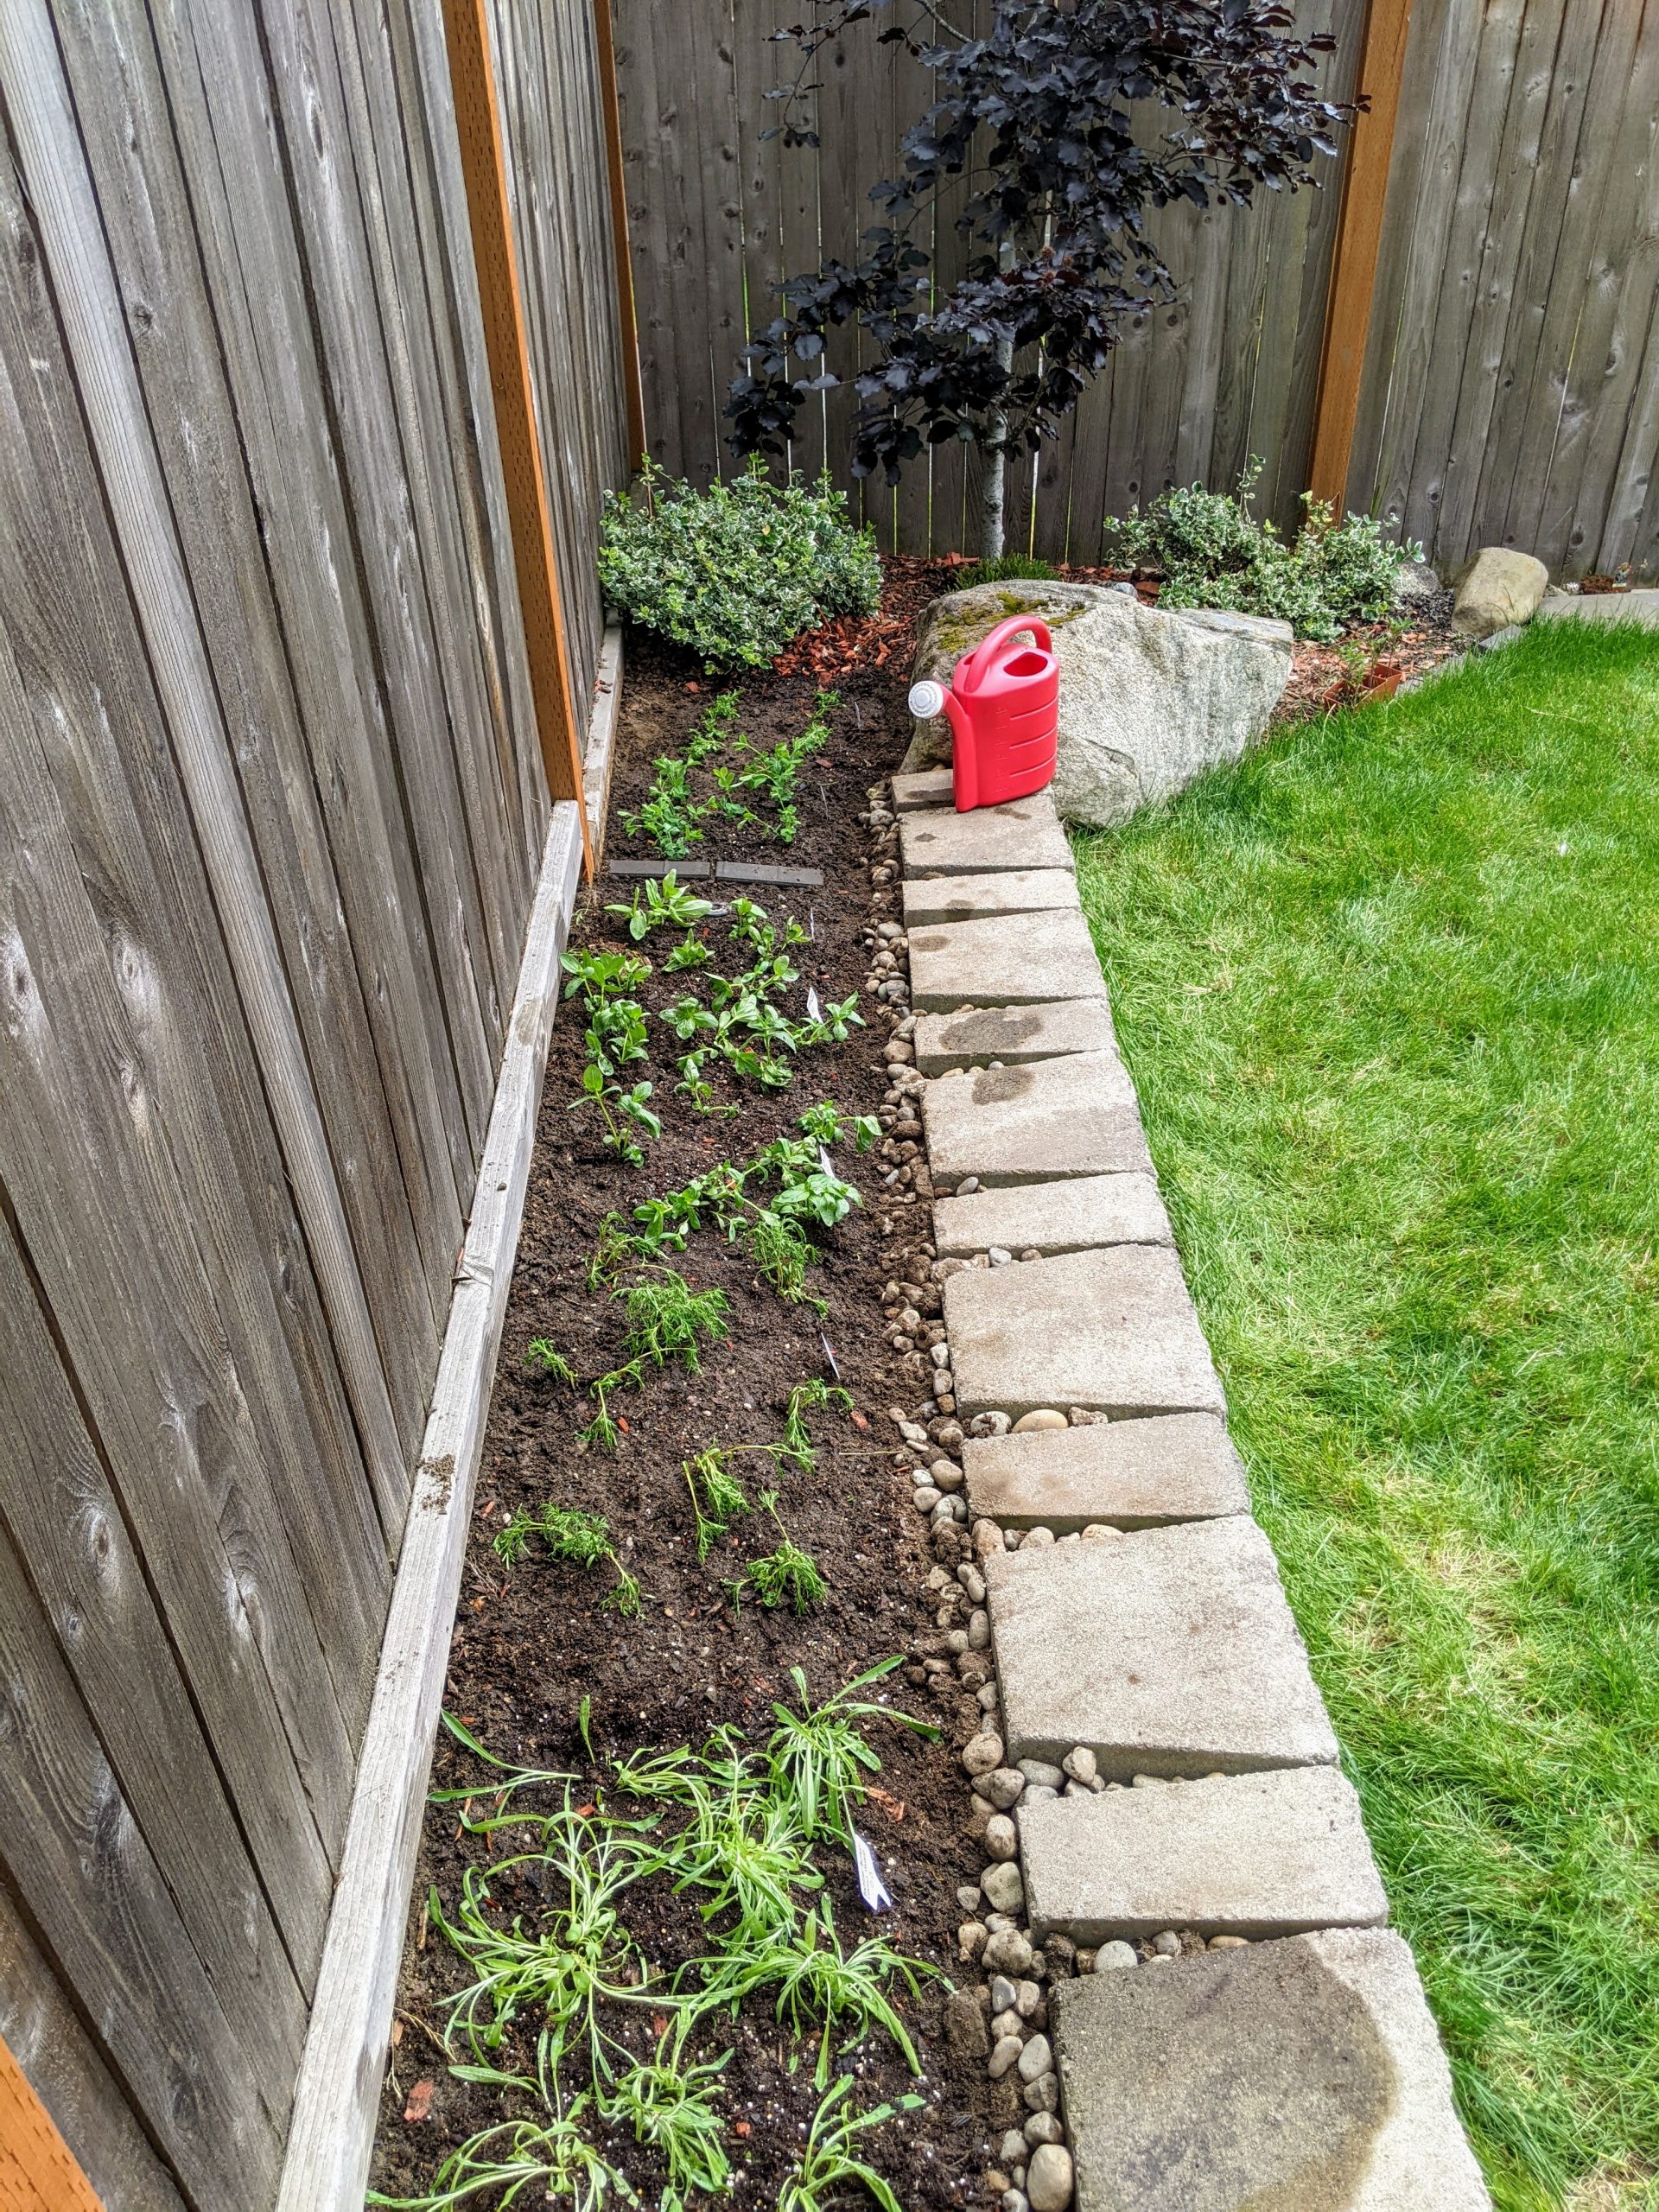
4 Week Update – I did it! They’re in the ground.
This was a several hour project to prep the garden bed, but the results are really great. Here’s what I did.
Slide for the before and after
Removed the bark from the top layer of the soil.
Sorted through the dirt removing all the little rocks.
Re-set the retaining wall.
Filled in behind the wall with the rocks I had removed for stability and drainage.
Mixed fertilized soil in with the dirt.
Planted all the little starts.
Relaxed and enjoyed the feeling of accomplishment.
I planted all my starts in the garden bed, so bottom to top, I have:
Bachelor Buttons Cyanus Double
Cosmos Sensation
Zinnias State Fair
Zinnias Giant Mixed
Zinnias Purple Prince
Sweet Peas
Alyssum
Here’s what I gave up on:
Poppies Giant Peony – I’d get little tiny starts, but they never survived beyond that.
Canterbury Bells – Never sprouted.
Aster Sea Star – Never sprouted.
7 Week Update – Doing well and learning about staking plants and garden pests.
First off, the plants are doing great in their new home! I’ve been giving them lots of water between watering them almost daily and a sprinkler head in the garden bed that runs a few times a week. Weather-wise, summer is finally hear, so the plants are getting sun almost every day. There are two new things I’m learning about, staking plants and pests.
Staking plants – Pretty easy. Sweat Peas need a lattice to grow up and we had one on hand that I put in the garden today. I’m keeping an eye on how tall the cosmos and zinnias get. They may need some stakes to keep the stems from breaking. If they do, I found some nice strong, reusable 23″ stakes at Home Depot that I am using for my dahlias, and I can get a few more for these flowers too.
Pest control – The problem isn’t too bad right now, but some of the Zinnias are getting holes in their leaves from garden pests. I’ve been spraying the plants with an organic pesticide regularly, but there are still more holes in the leaves. I think I found our culprit. When I was cutting some of my dahlias the other day, a few earwigs shook out of the flower petals. The holes in the leaves are similar to what I see online for earwigs. When I was at Home Depot today, there was a master gardener there who I chatted with about the issue. She said that it’s best to create traps and then squish the earwigs rather than using a really strong pesticide (most pesticides won’t kill earwigs). Tonight, I’m going to put oil and soy sauce in some old dip containers next to the plants that are most effected. We’ll see if I catch any of these pesky plant eaters!
One other thing to note is that the Bachelors Buttons haven’t been doing quite as well as the other starts. They seem to need a LOT of water. When I water them, they perk up. That said, I think a bunny might have come into the yard this week and nibbled on a couple of the starts because they look like they were cut down to the ground.
Let me knw what questions you have in the comments. I’ll have more to share soon!