How to make your own DIY Flower Pots for Container Gardening

Getting your toes wet in gardening can be both fun and expensive. I got a bit overwhelmed when shopping for planters this year. That’s when I decided to make my own DIY flower pots for my beginner container garden. These were really easy to make. They only took me 1-2 hours from start to fully planted. The planters look great and *BONUS* because they have handles, they’re easy to move around my yard.

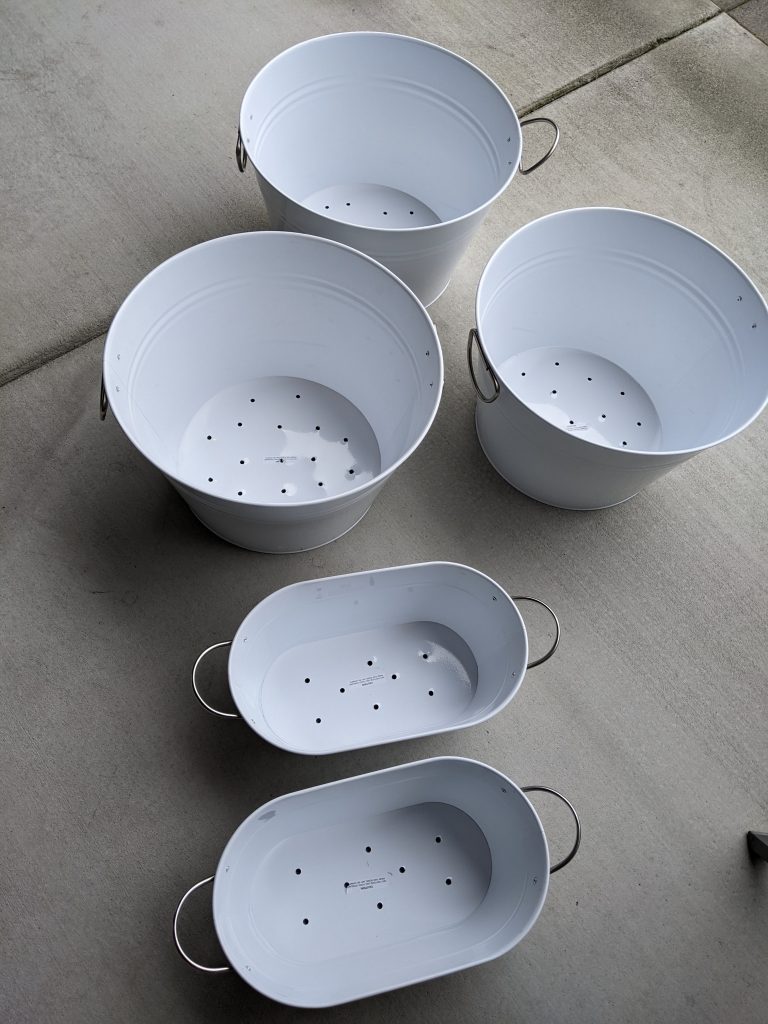
Step 1: Purchase metal containers from your local store. These containers are from Fred Meyer and they were on sale, buy one, get on half off. The total cost of the containers was about $15/large and $7/small.

Step 2: The first thing I did was drill holes in the bottom of the metal pots I bought. I doesn’t matter what pattern you drill the holes in or if they are equally spaced. Just make sure to drill enough holes for good drainage. When drilling into metal, you need a special drill bit. Be sure that the drill be you are using is rated to cut metal.

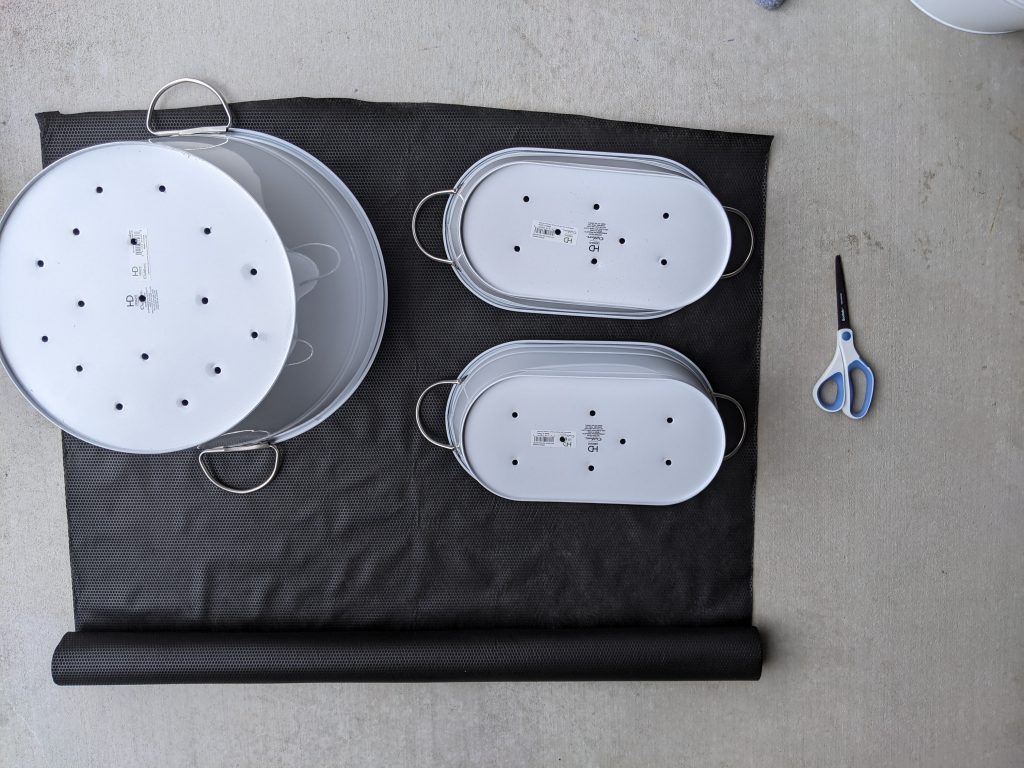
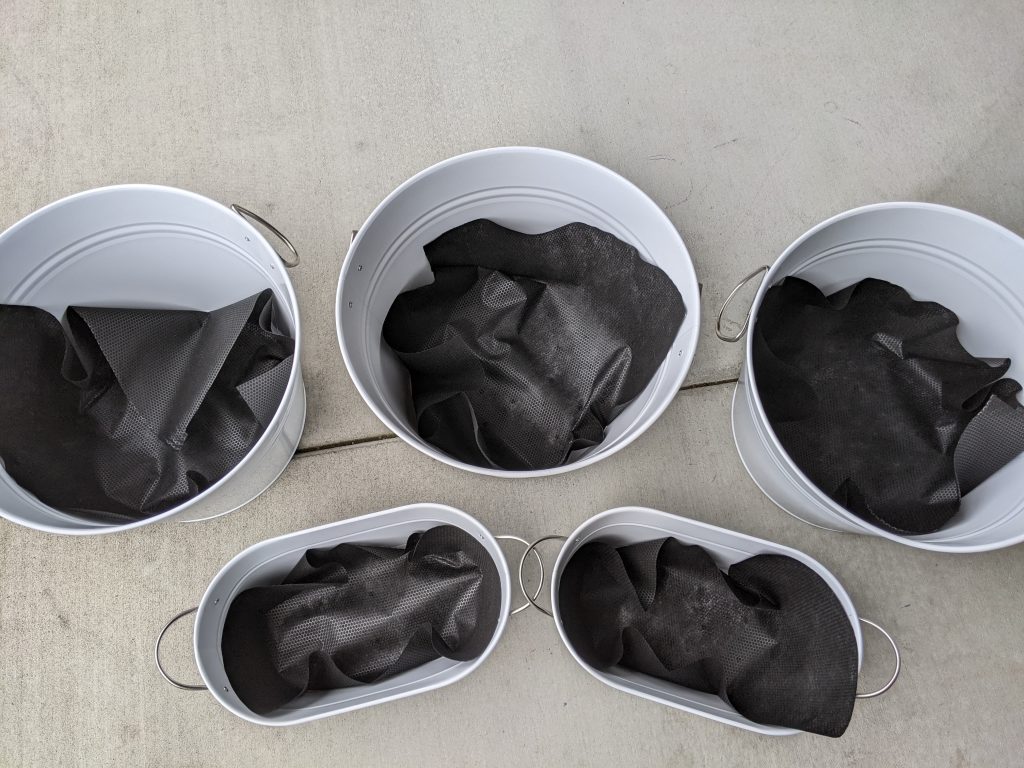
Step 3: Next, I wanted to line the bottom of the planters with landscaping geotech fabric to keep dirt from falling out the bottom of the pots. First I set the pots on the fabric. Then I cut around the pots without much worry about how perfect the cuts were. It’s ok to have extra fabric.

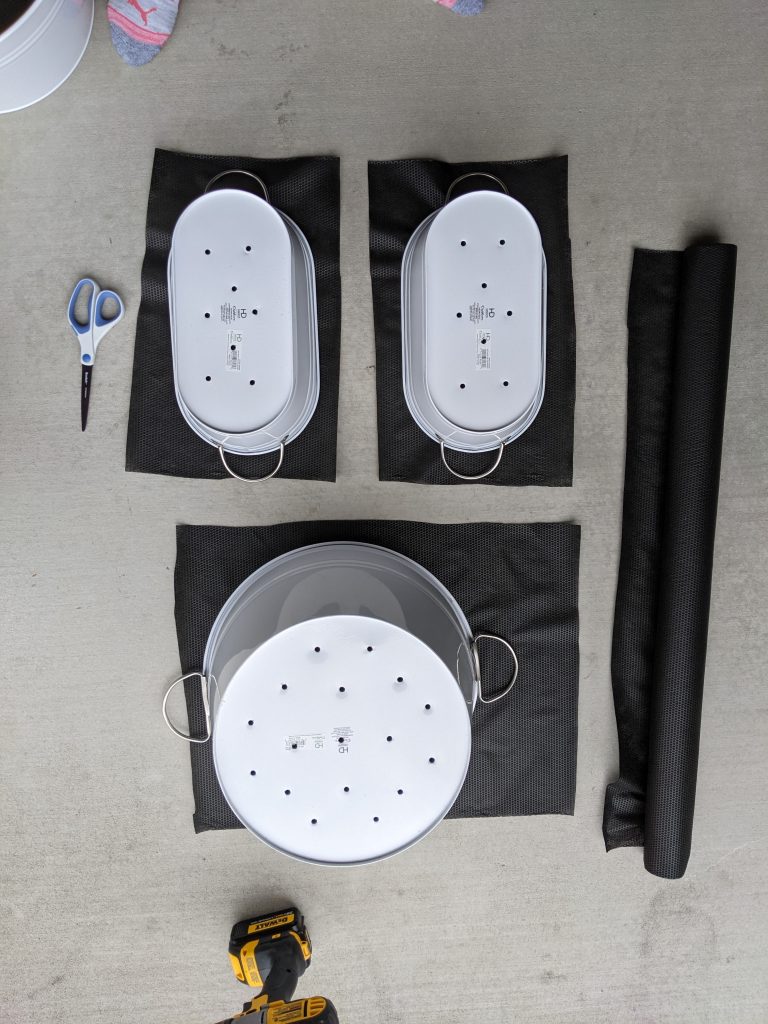
Step 4: Once the fabric was cut, I simply placed it in the bottom of each of the pots. I then tested to ensure that water could easily drain from the pots before starting to fill them with rocks and dirt.

Step 5: Add rocks to the bottom of your planters. I gave my husband a good laugh as apparently you usually use smaller rocks to help with drainage. I didn’t have smaller rocks on hand, so I picked these up from our back alley. They worked just fine. The rocks are holding the fabric in place, weighting the planters so they don’t tip over, and taking up space so I don’t have to use all my soil in one pot.

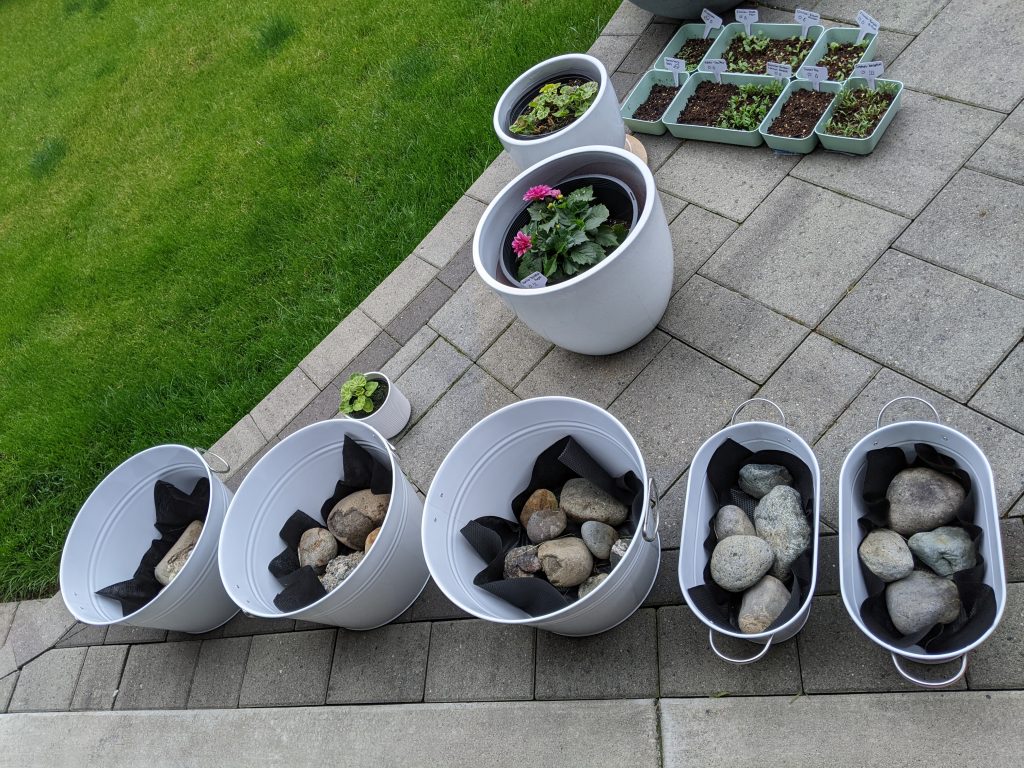
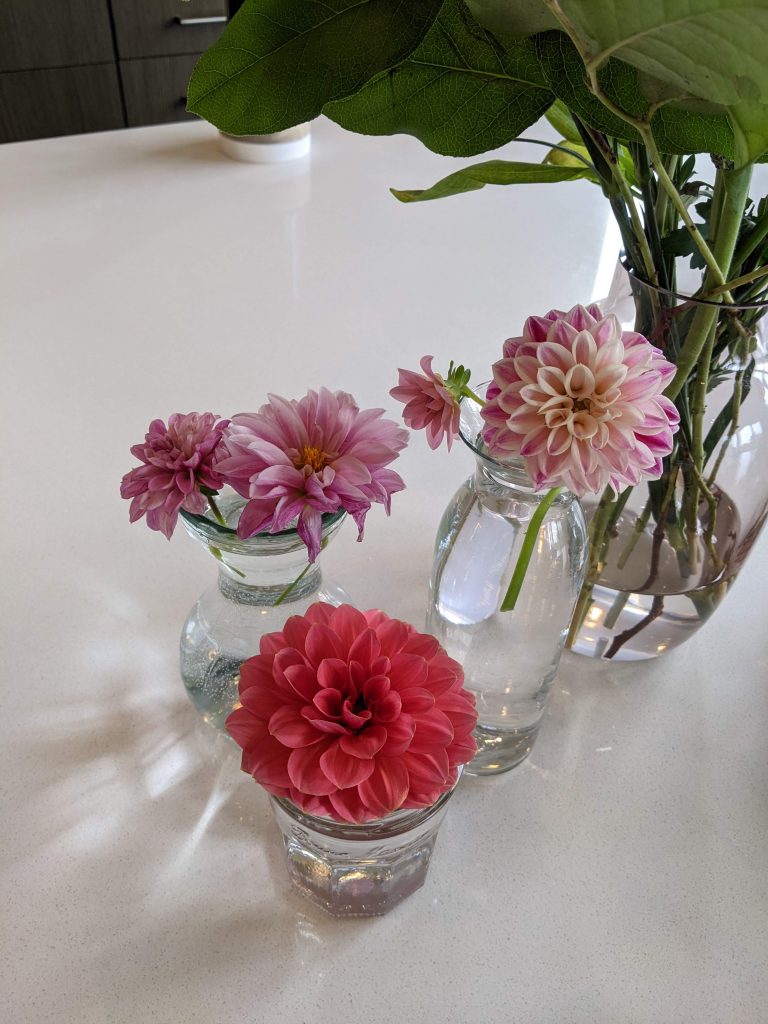
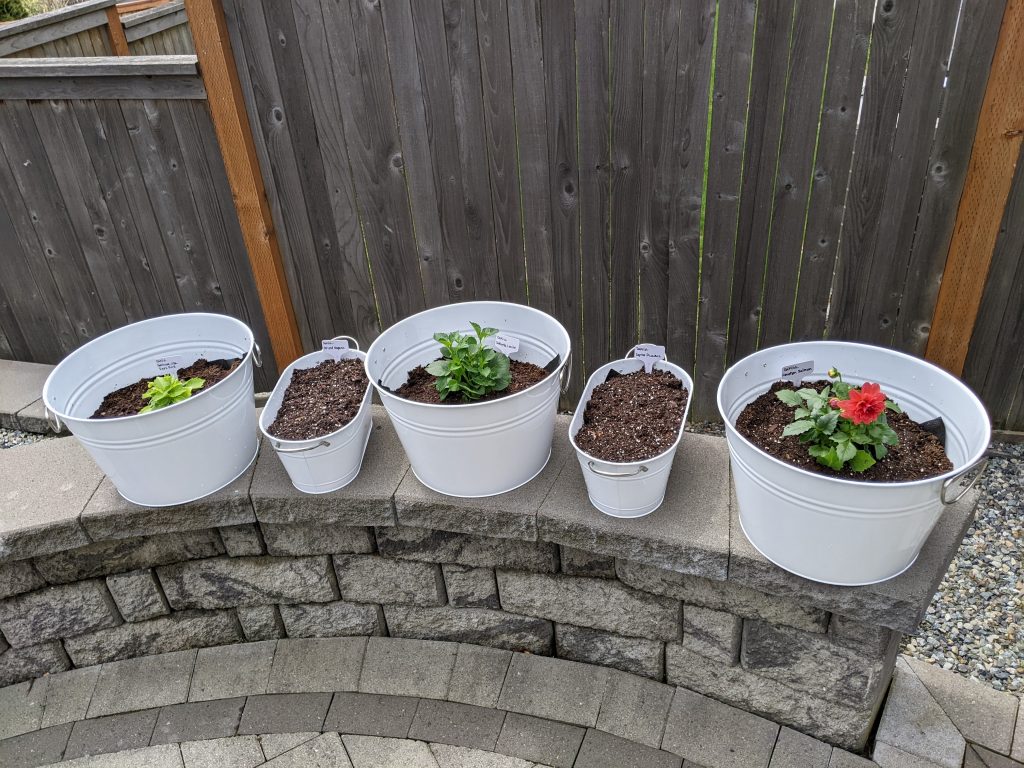
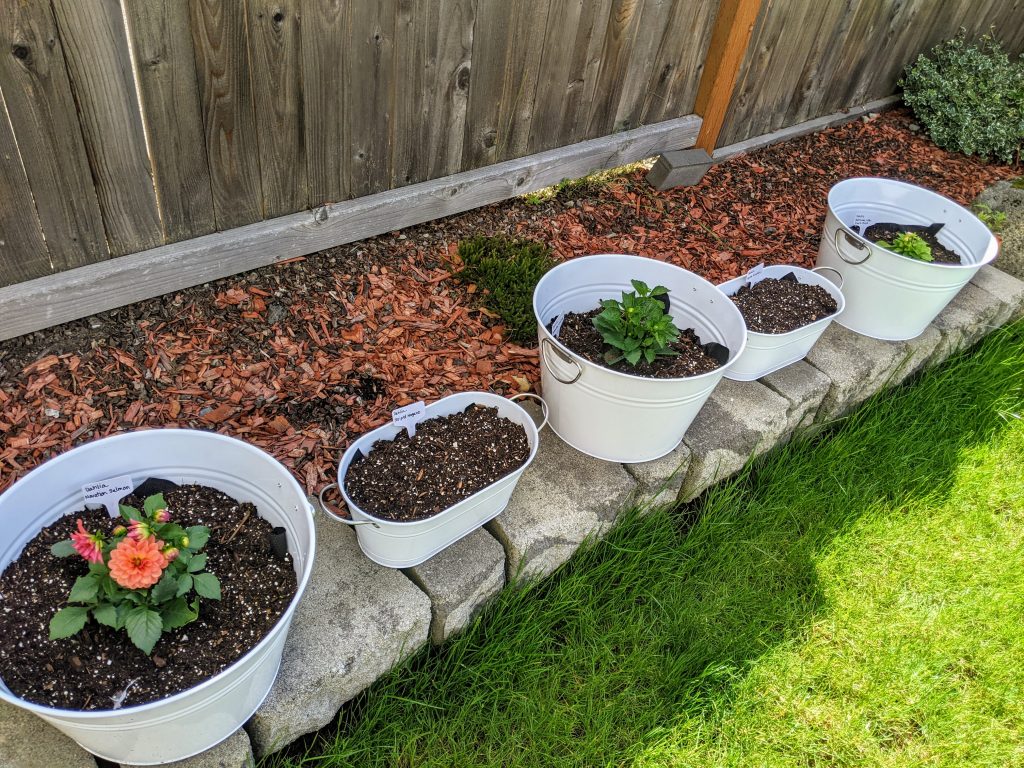
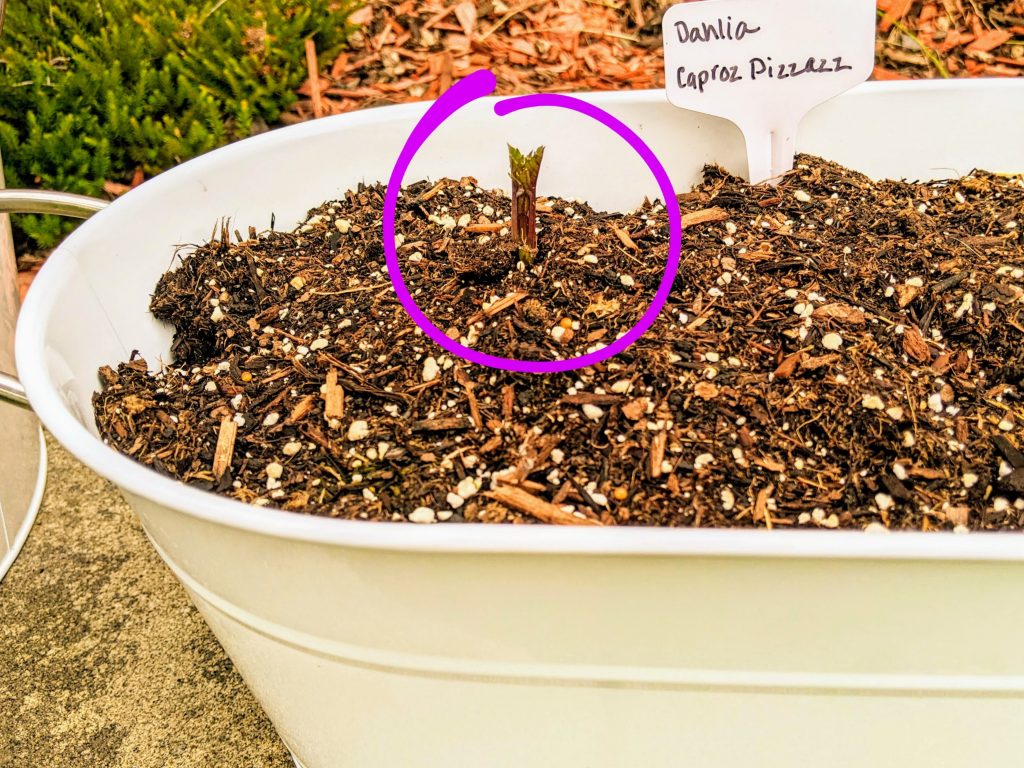
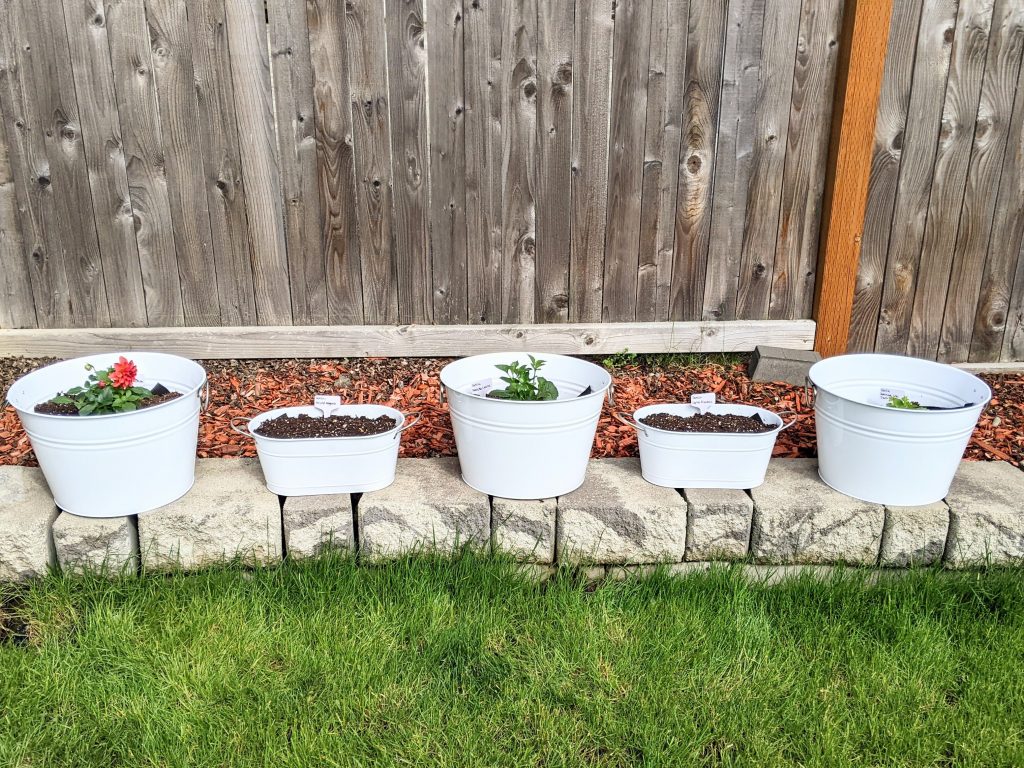
Step 6: Start filling the planters with soil and planning out which plants you will put in each planter. It’s important to read the labels of your plants when planning your container garden. Many plants like these dahlias will require a very large planter since they grow to be much larger than the initial sprouts.

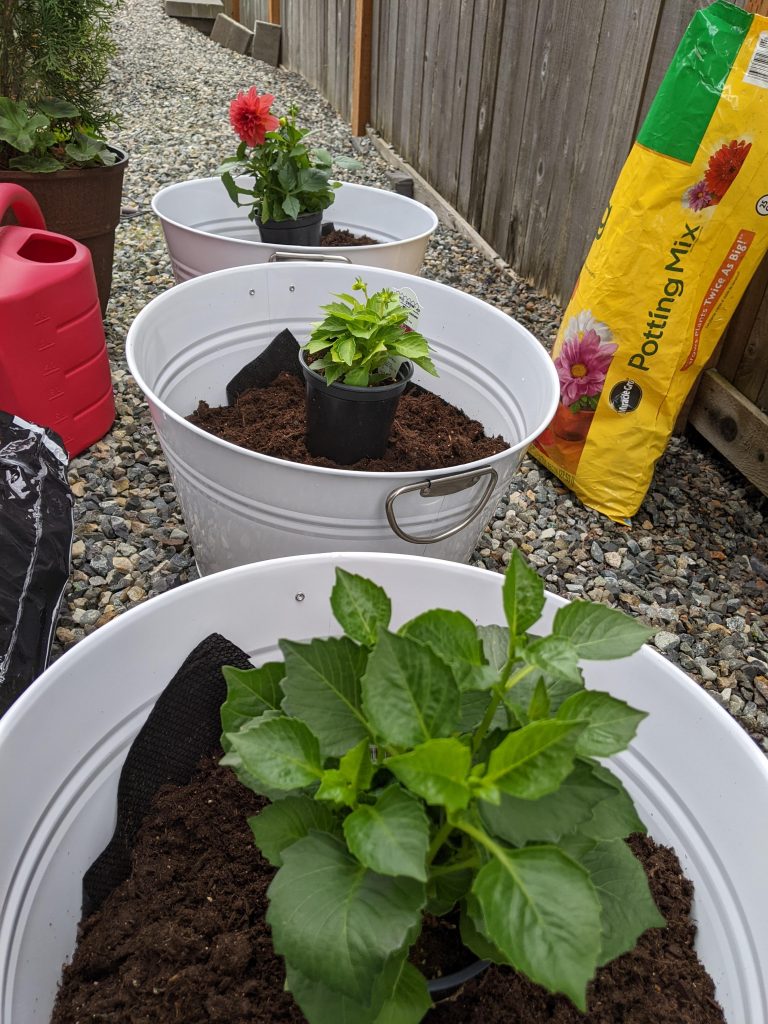
Step 7: Plant your pots! This is the most rewarding step a you are all done once your plants are planted!

I really enjoyed this easy DIY project, and I hope you do too! Making a DIY container garden is something anyone can do no matter how much experience you have or not. Wishing you all the best in your gardening adventures!

Growing Dahlias

If you want to follow my journey and learn along with me as a first-time dahlia grower, you are in the right place. This post documents how to grow dahlias in pots. I live in Washington state, home to the famous Erin Benzakein of Floret Flowers. She’s an internationally know florist who spent years growing her own flowers in Skagit County. You might call her the queen of dahlias. 🙂 She even has a few books about gardening, one of which is a NY Times Best Seller! I recently watched her documentary, Growing Floret on Joanna Gains’ Magnolia Network, and that’s when I was inspired to grow my own dahlias.

Day 1: 3 Dahlia plants purchased at our local Fred Meyer and 3 tubers planted. I’m so excited about growing dahlias that I ordered more online that should be here soon as I was feeling desperate to try the Cafe au Lait variety. They are the dinner plate size and simply a beautiful white, blush, pink that will make stunning bouquets.

Over the last week, I did a ton of research to get ready to plant my dahlias. Here are a few tips I learned from my research.

Large planters! You need a large pot for Dahlias, 12″ or bigger for each tuber because the tubers can grow quite large. I’m starting the plants in 14″ planters that I made myself. More on how to make your own planters here. And the tubers are in the smaller planters. I have no idea if they will take off. If they do, I’ll need to move them to bigger planters to accommodate the tuber growth.

Flower cutting Cut the flowers when they are as full as you’d like them to be in your bouquet. Dahlias don’t continue opening once cut. Additionally, it’s very important to cut the flowers back or deadhead them as going to seed could cause your plant to stop producing flowers.

Watering Don’t water tubers when you initially plant them. This is because you don’t want to rot the tubers. (Oops! I watered mine and we’ll see how they do.) You want to plant the tubers and wait to water them until after they start to sprout. Then, water a few times per week.

Sun These are a full sun flower so best to pick the sunniest place in your yard for your dahlias.

I will share an update on how things are going in a few weeks when there’s progress to show. More to come soon!

1 Week: Not much as changed. So many blooms on the plants that I purchased. The tubers haven’t come up yet. I received more tubers in the mail that I’ll plant next weekend. I’m so excited for these plants to reach their full size, I can hardly stand it. In the meantime, it’s nice to have the plants that were already started so that I have little blooms to clip and keep in my kitchen.

2 Week: Woo– We have a tuber sprouting! Just 1 of the two are sprouting. I still need to plant our other dahlias, but it’s been a busy week. This sprout is re-energizing me to get the other tubers in some dirt.

Stay tuned for more dahlia updates soon!